How to Make a Rhinestone Shirt with a Cricut
Make a rhinestone shirt with a Cricut or another cutting machine: pick the stone size, import the SVG at true size, set up the flock, test cut and weed.
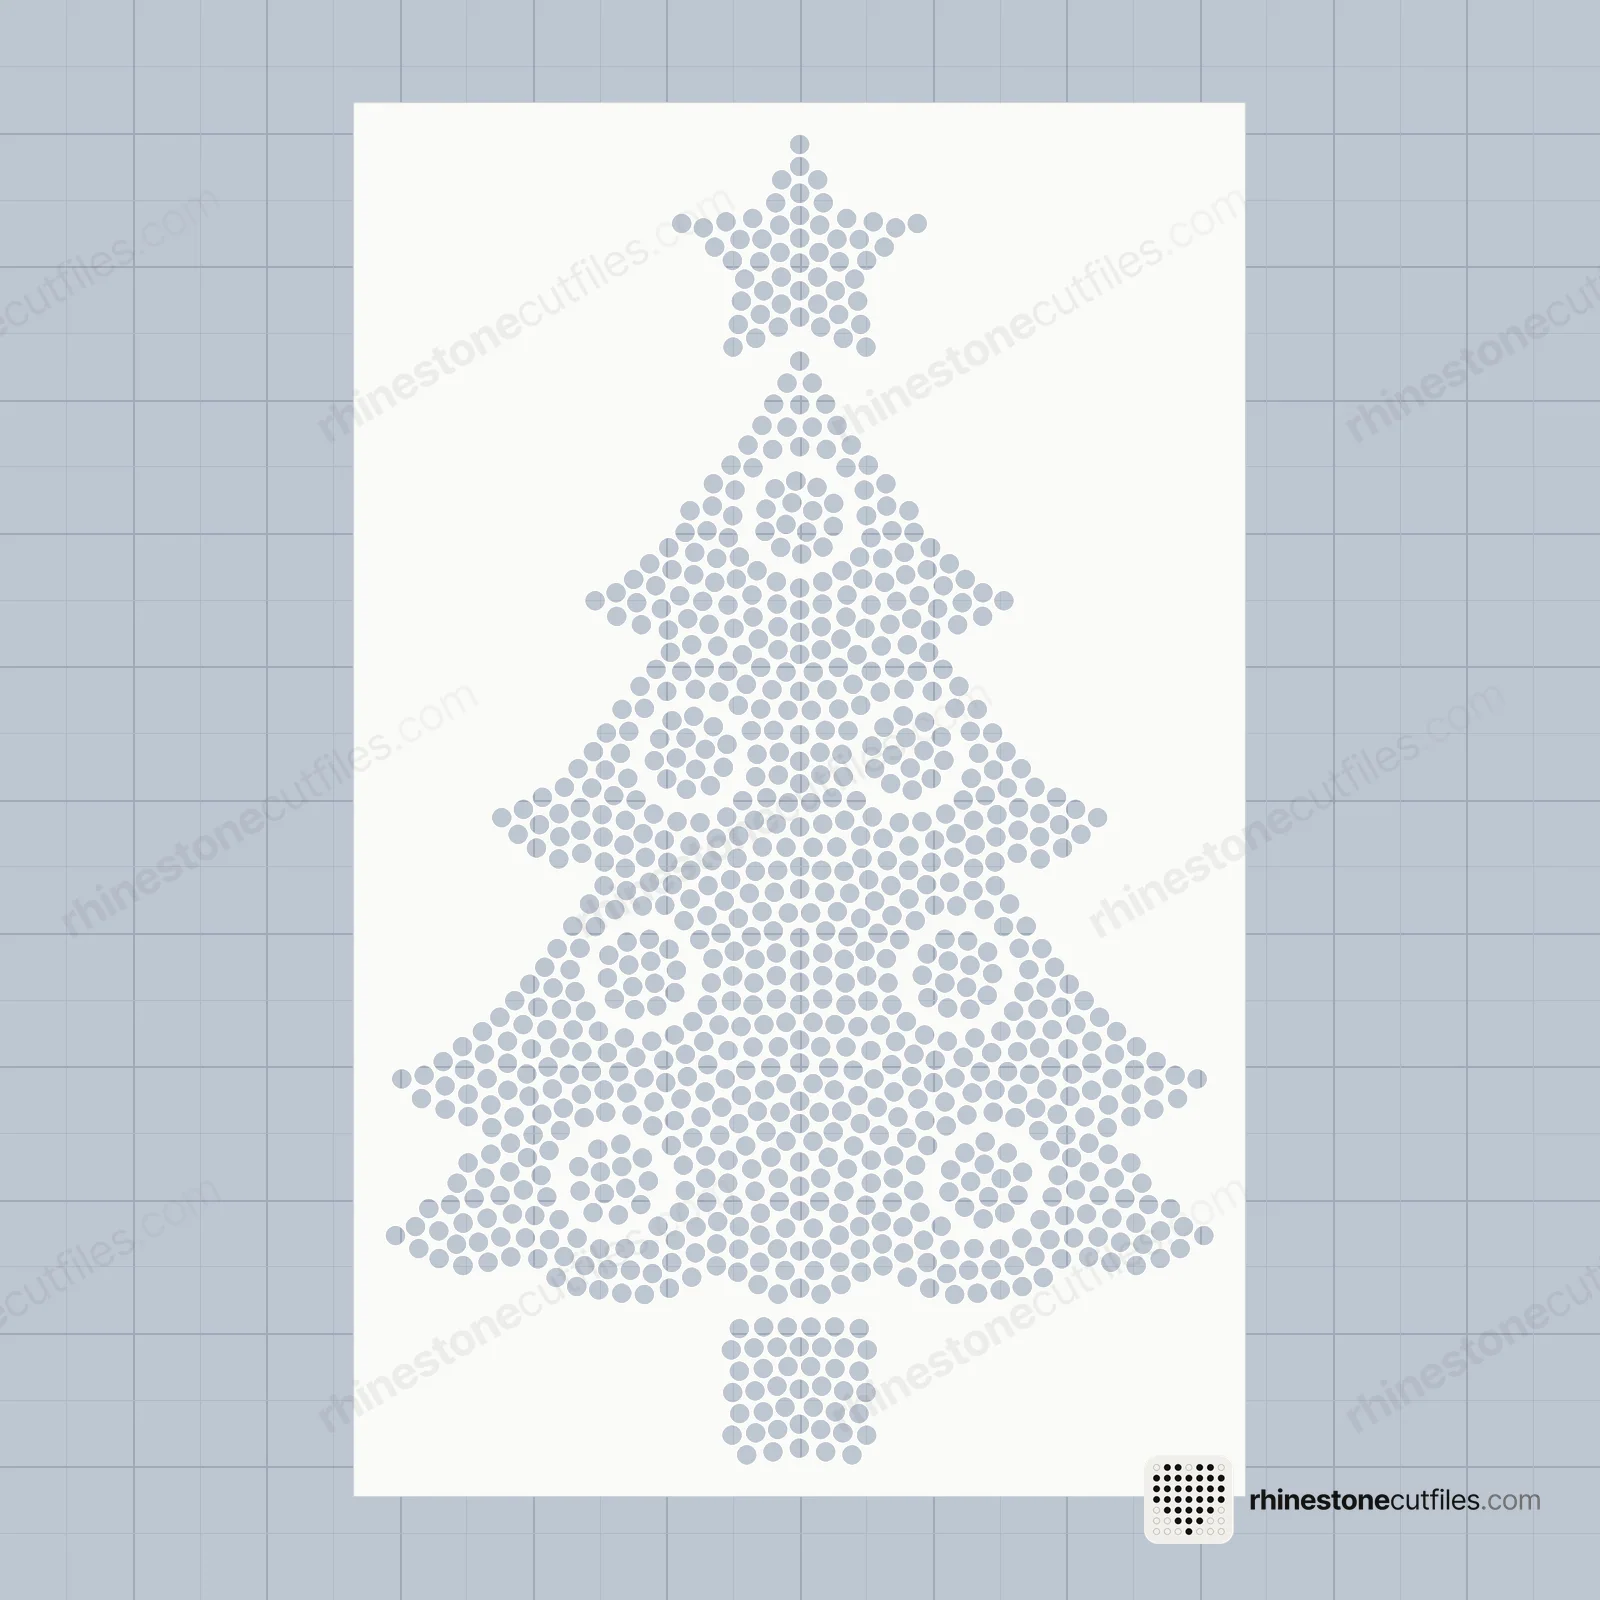
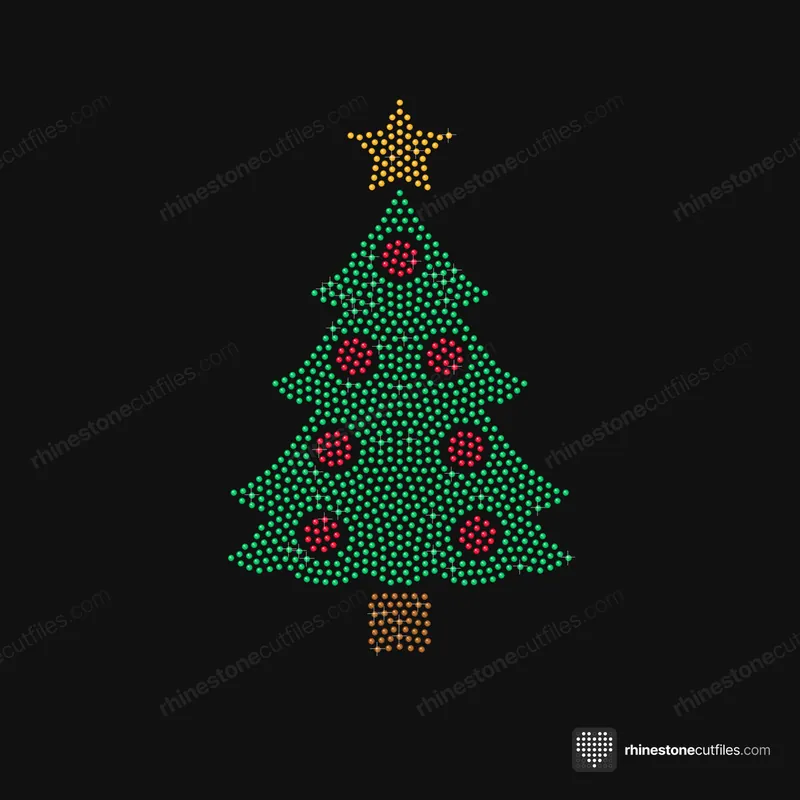
To make a rhinestone shirt with a cutting machine, you choose your stone size, import the SVG template at its true size, cut it from rhinestone flock on the flock material setting and weed out the circles. Then you brush in hotfix stones, lift them with transfer tape and press. Cricut Maker and Explore both cut rhinestone flock, and so do many other machines.
This guide covers the computer and machine part. The stones and the press get a short section at the end.
What you need
- A cutting machine that cuts flock, and the app that runs it
- Rhinestone template material (flock) with its paper backing
- A 12 × 12 in mat, ideally strong-grip, and a sharp blade
- A weeding hook and a backer board
- Your template pack, unzipped, so the app can open the SVG files inside
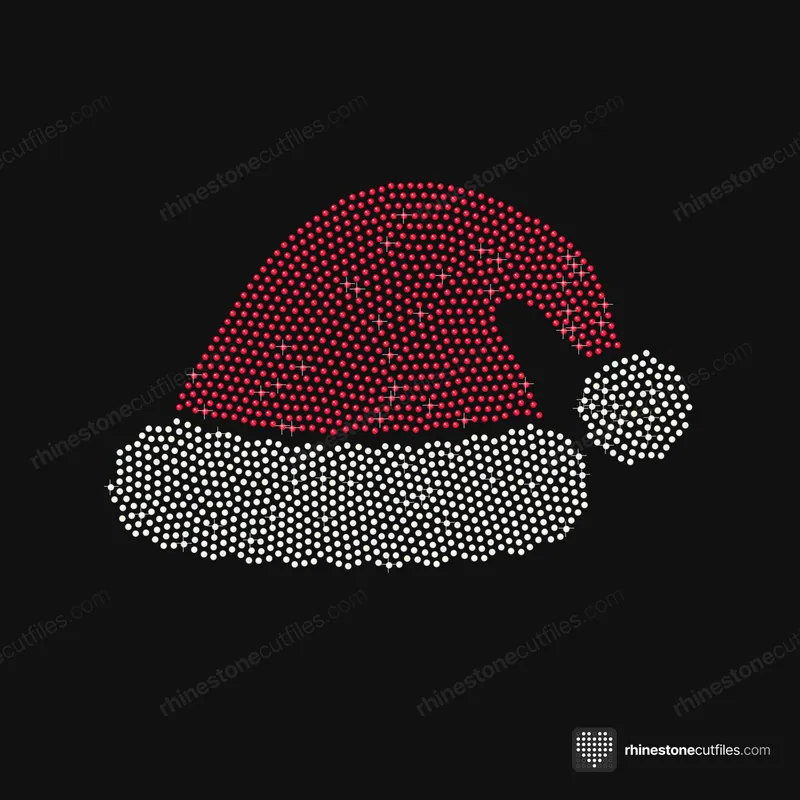
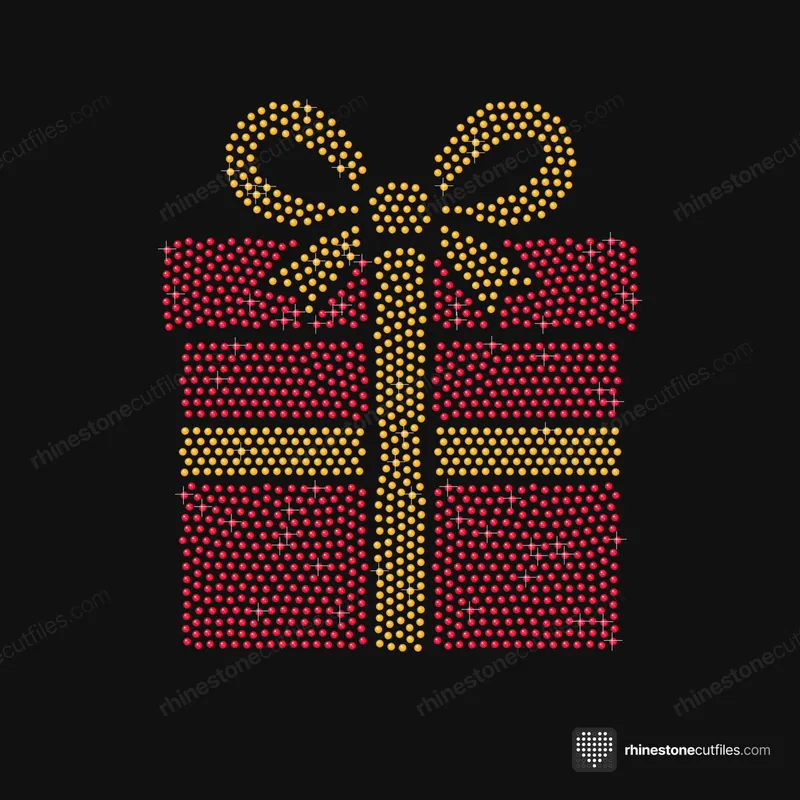
 Step 1Cut the templateFrom rhinestone flock, one hole for every stone
 Step 2Brush in the stonesHotfix stones drop into the holes, shiny side up
 Step 3Lift with transfer tapeThe clear tape picks up the whole design
 Step 4Press onto the shirtHeat press or iron, let it cool, peel
Step 1: Choose your stone size first
Decide on the stones before you open any file. Every pack has SS6 and SS10, and most have SS16. Each size is its own file at its own size, with holes made for that one stone: .100 in for SS6, .135 in for SS10 (the most popular) and .176 in for SS16.
The stone count can differ by size. The Christmas Tree uses 910 stones at SS6 and SS10 and 711 at SS16; the product page lists each. Not sure which size suits your shirt? See SS6 vs SS10 vs SS16.
Step 2: Pick the SVG
Every pack holds SVG, DXF, PDF, EPS and PNG files for every design and stone size. For the machine, use the SVG: every hole and the 0.25 in cutting box are already cut lines. Use the DXF only if your software won't open the SVG, and the PDF to print the design at true size.
Why not the PNG? It is a picture made of pixels. The app would have to trace it, and traced circles are rarely the exact size of the holes, so the stones sit too tight or too loose. Our file format comparison explains each type.
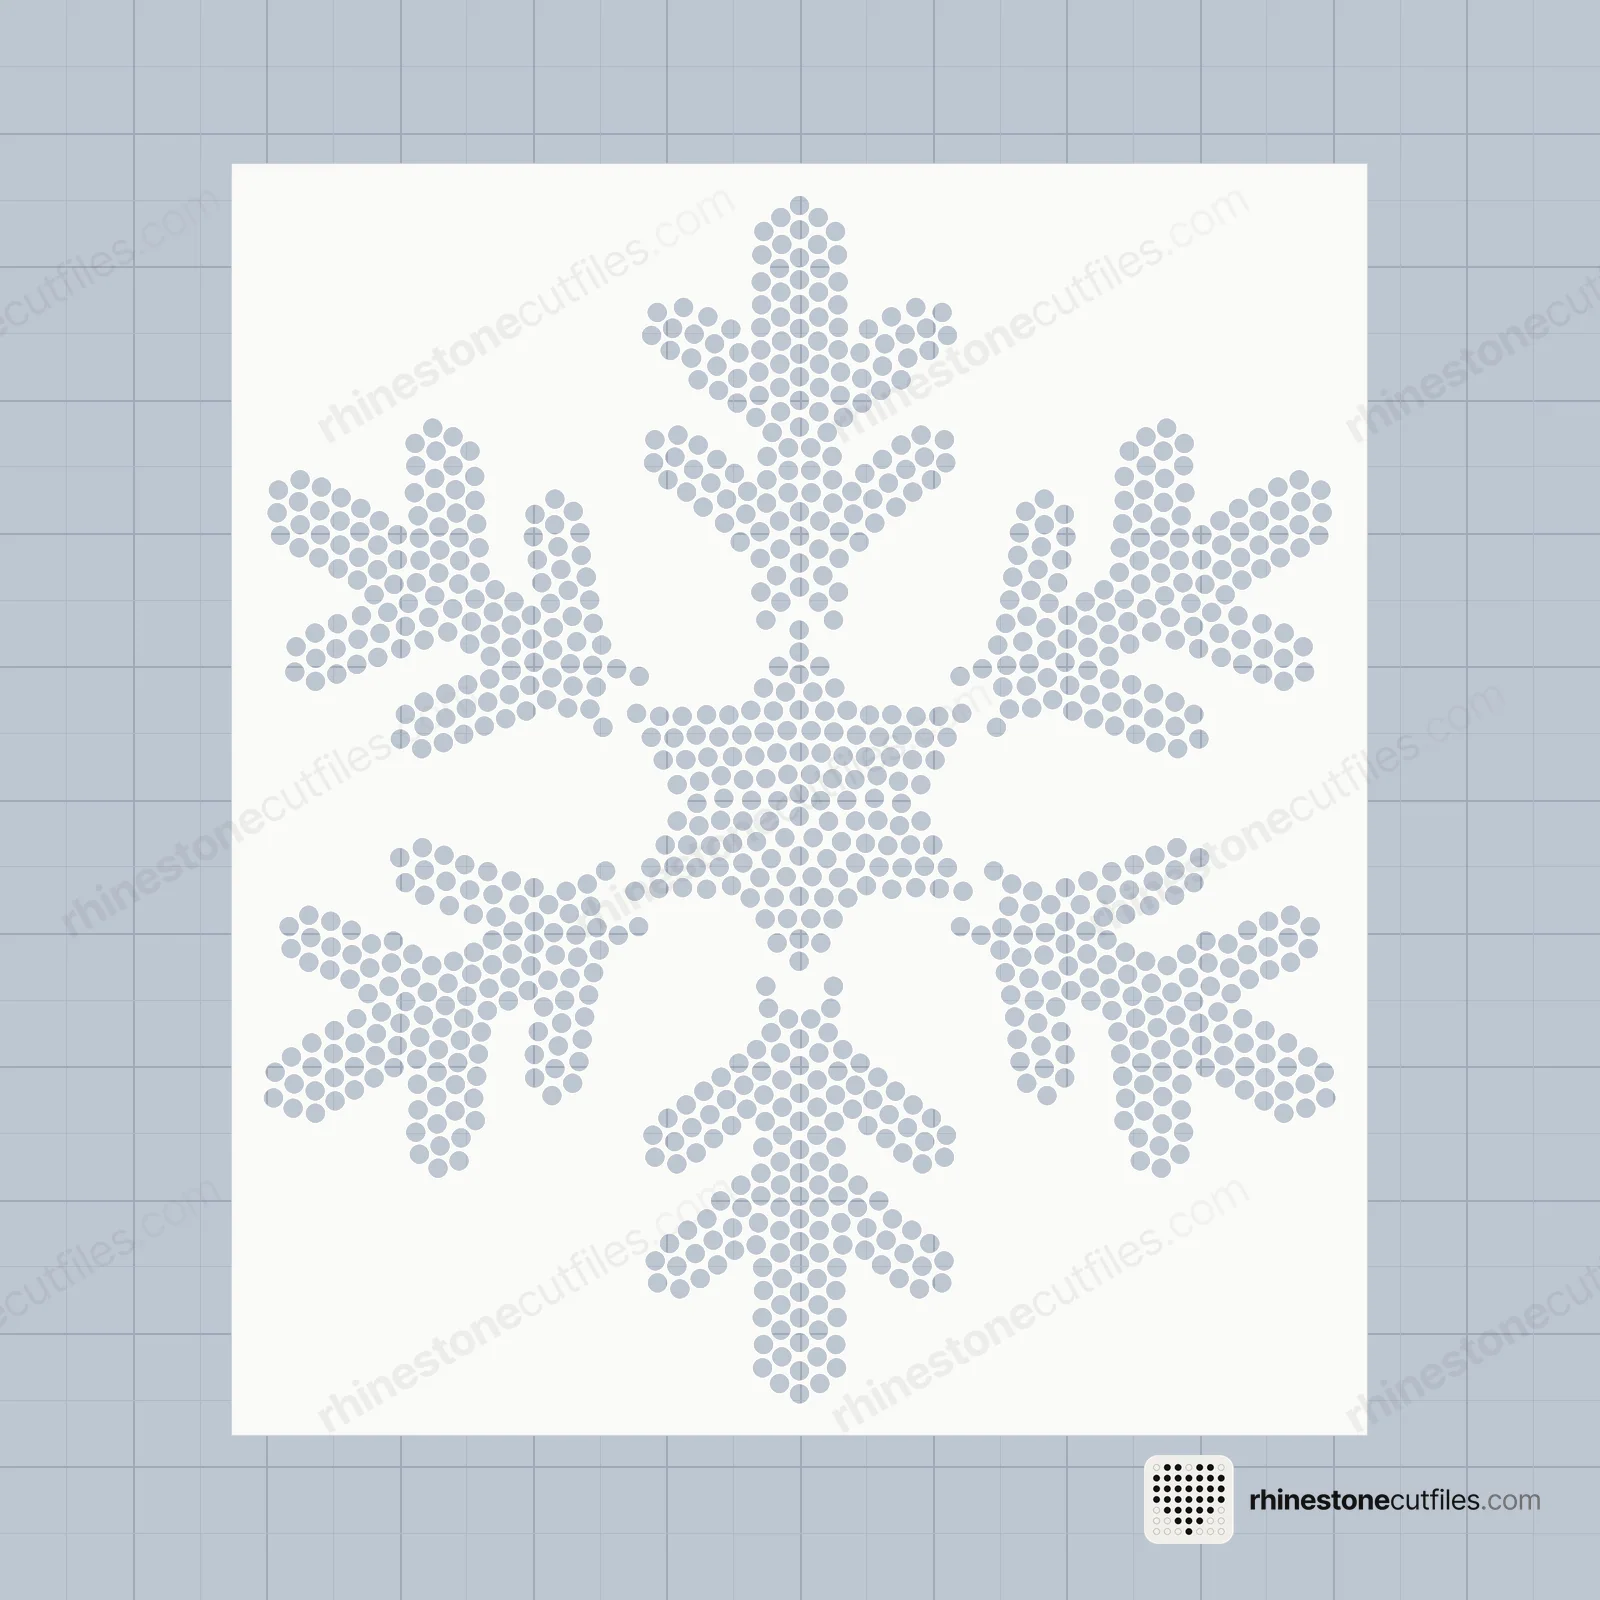
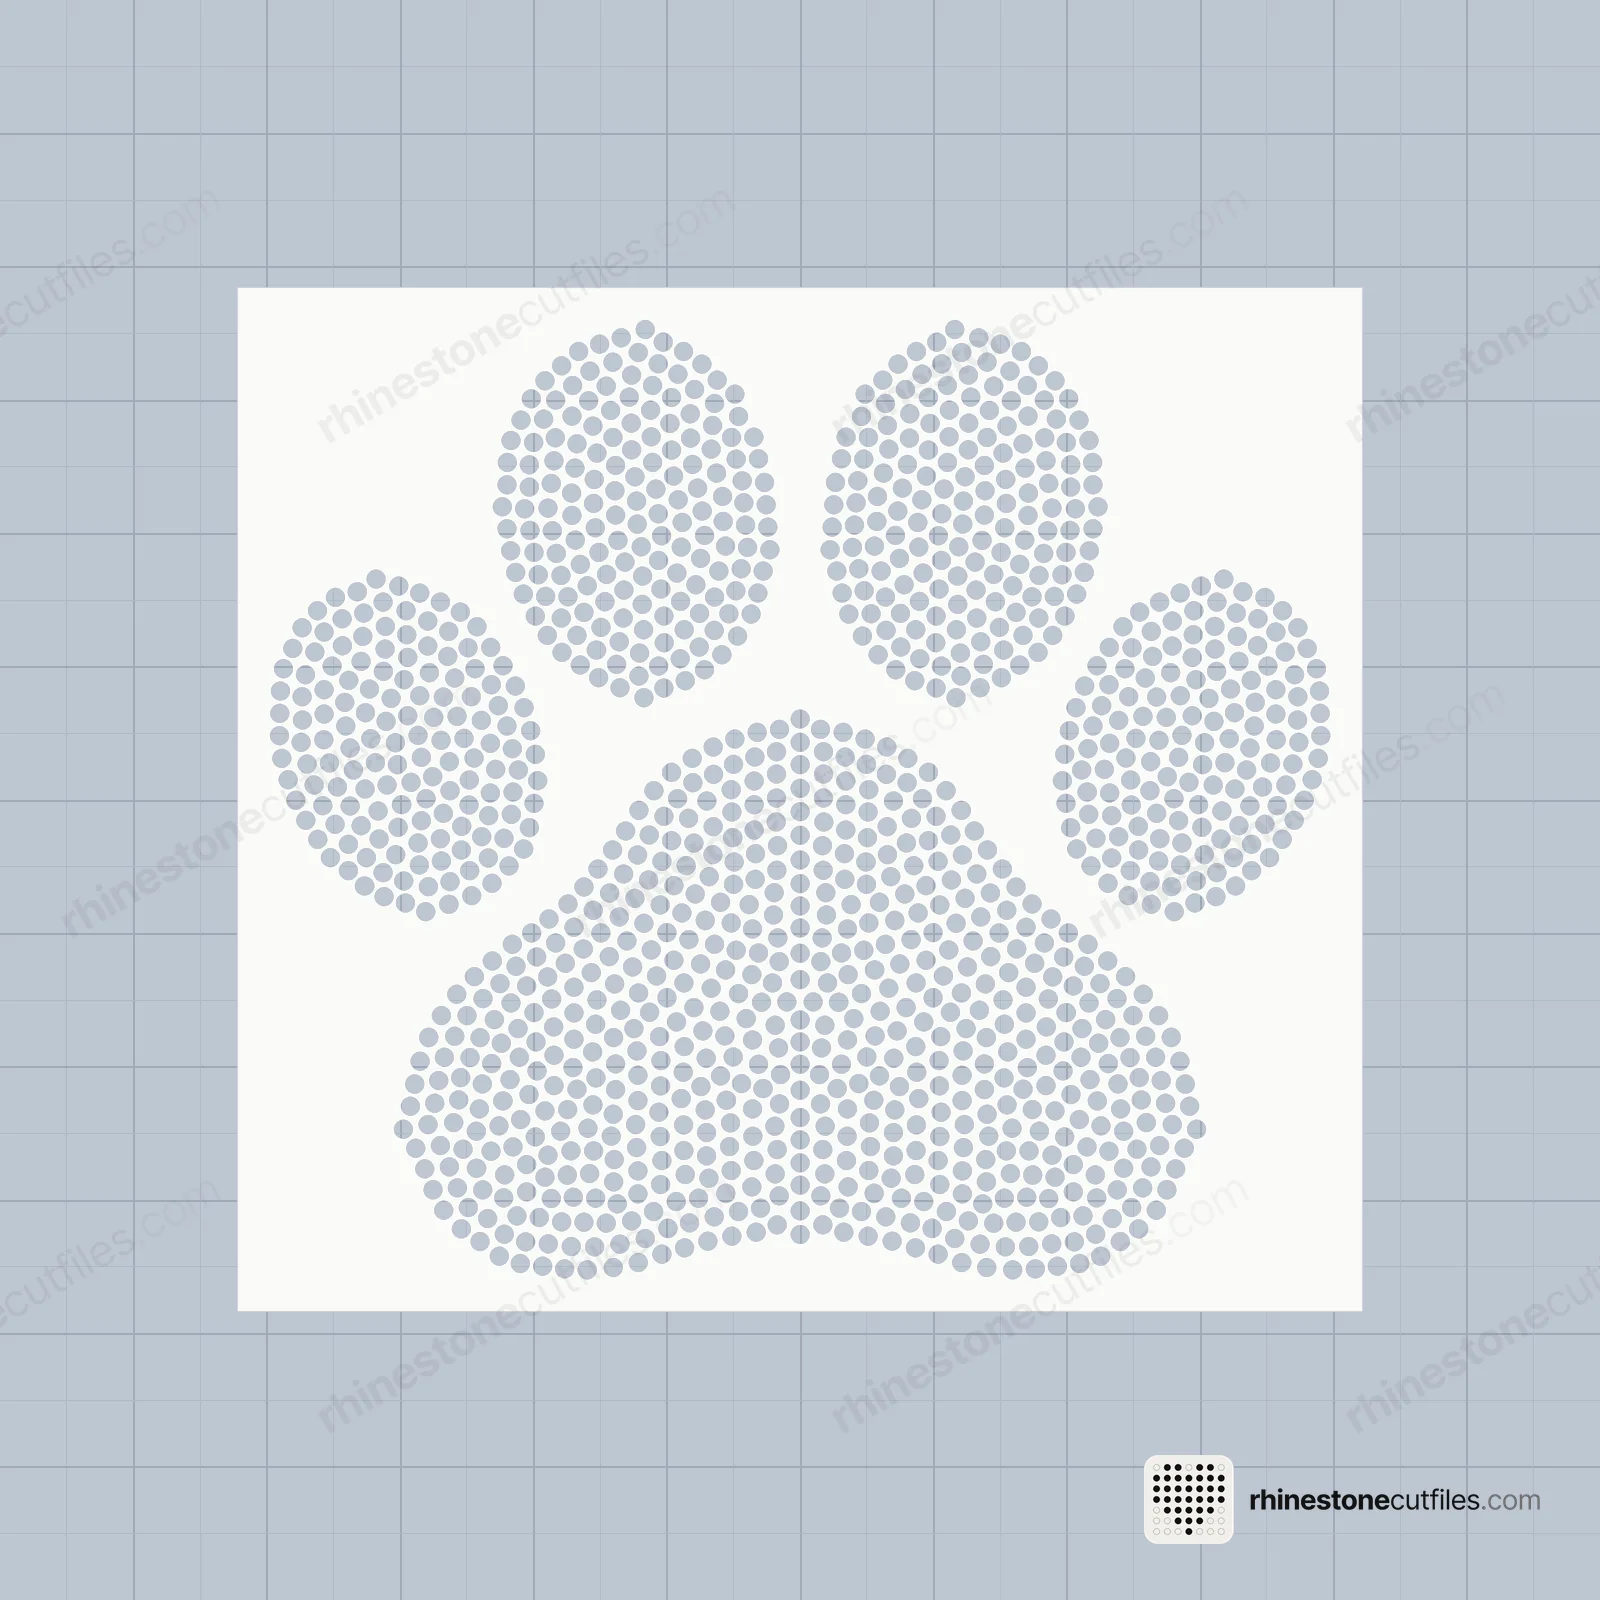
Multi-colour designs have a Multi Colour folder, with one template per stone colour and the same cutting box on each so the colours line up later, and a One Colour folder with every hole in one template. Cut each multi-colour template on its own piece of flock.
Step 3: Import at true size and check it
Upload the SVG into the design software and compare the width and height it shows with the size on the product page. The Christmas Tree should read 6.2 × 9.97 in at SS10, 4.92 × 7.91 in at SS6 and 6.63 × 10.67 in at SS16. If your app works in centimetres, multiply by 2.54.
If the numbers don't match, the app changed the size on import. Import again, or type the listed width with the proportions locked. Don't drag a corner until it looks right.
Never resize a template to fit a shirt. Each hole fits one stone, with at least .03 in (0.76 mm) of flock between holes, and scaling changes both. Every template, cutting box included, already fits the 12 × 12 in mat and its 11.5 × 11.5 in cut area.
Two more checks:
- Keep it together. A template is hundreds of separate circles inside one box, and some apps rearrange separate shapes on the mat. Keep them in one layout; how differs between apps, so check its help pages.
- Cut, not draw. The whole design should be set to cut, not to draw or print.
Step 4: Set up the mat and the flock
- Use a clean, sticky mat. Flock is thicker than vinyl, and a strong-grip mat stops it shifting during a long cut.
- Lay the flock on the mat with its paper backing on and the flock side up. Smooth it flat inside the cut area.
- Choose the material setting for rhinestone flock or template material. Names differ between machines and app versions, so check your machine's material list, or your flock's instructions if there is no match.
Step 5: Make a small test cut
Copy a corner of the design into a new project at the same size and cut it on a scrap of flock. The circles should lift out cleanly, and the paper backing should still hold the sheet together.
If they stay put, add pressure or put in a fresh blade and test again. When a setting works, write it down with the flock you used, and test each new roll.
Step 6: Cut the full template
- Don't mirror it. Mirroring is for iron-on vinyl, which is cut from the back. A rhinestone template is cut as it reads, because the tape lifts the stones from the top.
- Let it finish. A design with a thousand holes takes a while.
- Check before you unload. Gently lift a few circles in one corner. Some machines let you repeat the cut while the mat is still loaded. Once the mat is out, the flock won't line up again.

Step 7: Unload and weed
Lift the flock off the mat slowly so it stays flat. Peel it off its paper backing; many circles stay behind on the paper. Pick out the rest with the hook, hold the sheet up to the light to spot closed holes, then stick the template onto a backer board. How to cut rhinestone templates has more on weeding.
Stones and pressing, in short
Brush hotfix stones into the holes in small circles, shiny side up, lift them with clear hotfix transfer tape and press at 320-335 °F (160-168 °C) for 10-15 seconds at medium to firm pressure under a non-stick sheet. Check your stones' instructions, as glues vary.
How to make a rhinestone shirt covers brushing, lifting and multi-colour designs, and the heat press settings guide explains the press. The template is reusable: cut once, press many shirts.

If something goes wrong at the machine
| Problem | Likely cause | Fix |
|---|---|---|
| Wrong size after import | The app rescaled the file | Import again or type the listed size |
| Circles moved around the mat | The app split up the layout | Keep the design as one layout |
| Circles won't pop out | Not cut through | More pressure or a fresh blade |
| Flock shifts during the cut | Mat not sticky enough | A strong-grip mat, flock smoothed flat |
The troubleshooting guide covers the other stages.
Practise on a free template
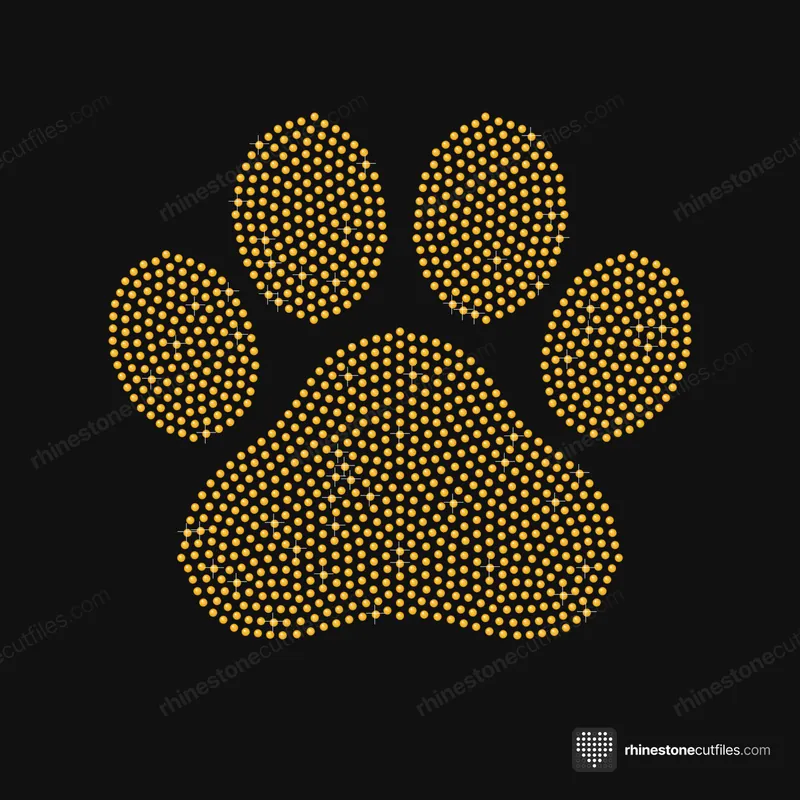
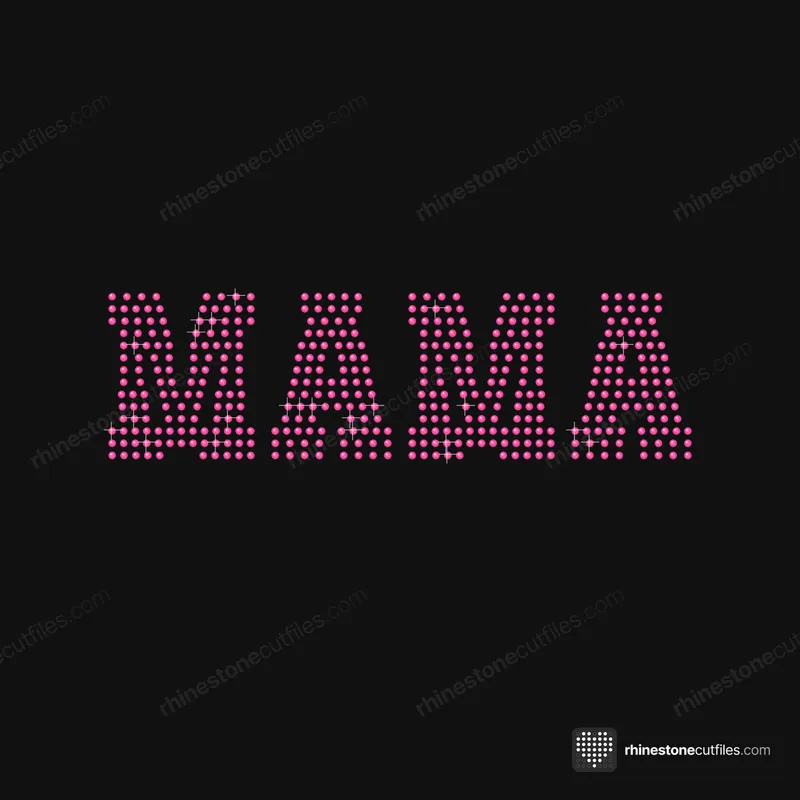
Run the whole process on one of our free templates first. If a setting is off, you lose only a scrap of flock.




FAQ
Do you mirror a rhinestone template before cutting?
No. Mirroring is for iron-on vinyl, which is cut from the back. Rhinestones are lifted from the top of the template with transfer tape.
What mat do I use to cut rhinestone flock?
A clean, sticky 12 × 12 in mat, often a strong-grip one so the flock can't shift. Every one of our templates fits it, cutting box included.
Why is my rhinestone SVG the wrong size after I upload it?
Some apps change the size of an SVG on import. Compare it with the product page, then import again or type the listed size. Never scale it by eye.
Can I cut a rhinestone template from the PNG file?
Use the SVG. A PNG is made of pixels, and tracing it rarely gives circles at the exact hole size.