How to Cut Rhinestone Templates on a Cutting Machine
How to cut rhinestone templates from flock: open the file at true size, load the mat, pick the flock setting, make a test cut, then weed every hole clean.
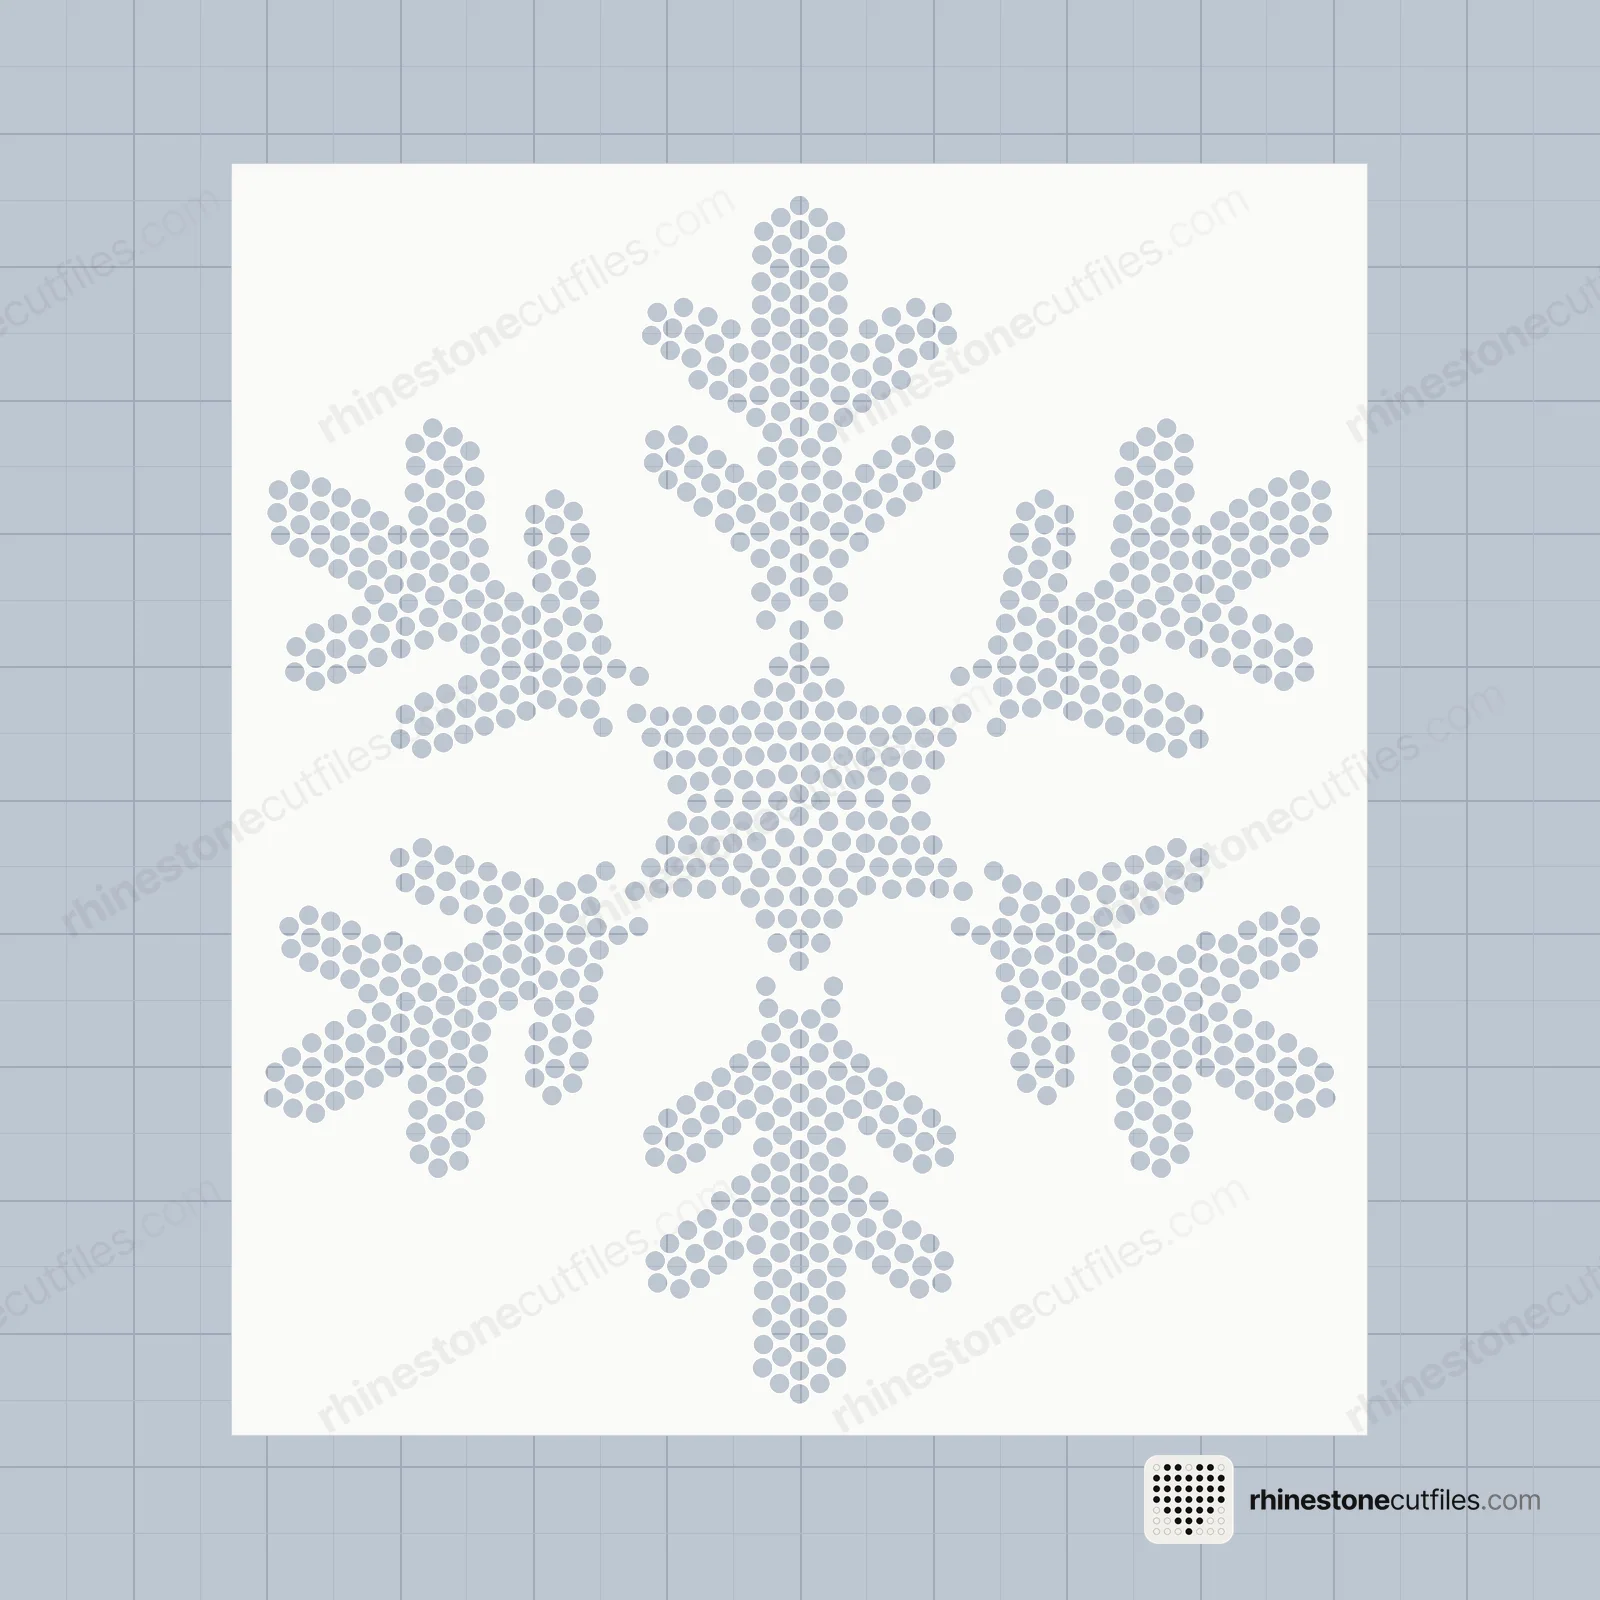
To cut a rhinestone template, put rhinestone flock on the mat with the paper backing on and the flock side up, choose your machine's flock material setting, make a test cut, then cut the full design and weed out the circles. If the circles don't pop out, add pressure or use a fresh blade.
The one thing to get right is size. Each hole in a rhinestone template SVG is made for one stone size, so the file has to reach the mat exactly as it is. This guide is the cutting part of how to make a rhinestone shirt.
What you need
- A cutting machine that can cut flock. Cricut Maker and Explore can, and so can many other machines.
- Rhinestone template material (flock) with its paper backing
- A 12 × 12 in cutting mat and a sharp blade
- A weeding hook
- A backer board for after the cut
- The template file in the stone size you will use
Not sure which template material to buy? Our template materials comparison covers the options.
Choose the right file
Every pack includes SVG, DXF, PDF, EPS and PNG files for every design and stone size.
| File | Use it for |
|---|---|
| SVG | Most cutting software. Start here. |
| DXF | Software that prefers DXF, or when an SVG won't open |
| EPS | Design programs that open EPS |
| Printing at true size, to check the size or plan placement | |
| PNG | A picture of the template for reference |
Pick the file for your stone size: SS6, SS10 or SS16. They are separate files at separate sizes, not one file to scale. Our file format comparison explains each type.
Check the size before you cut
This is the step people skip, and it matters most. After you open the file, compare its width and height with the size on the product page.
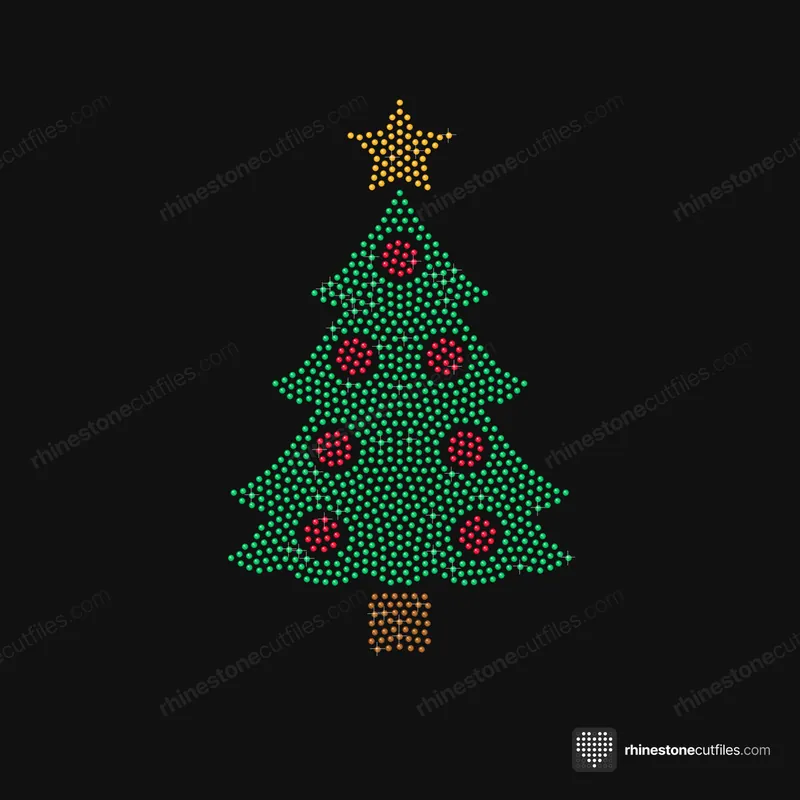
For example, the Christmas Tree template is 6.2 × 9.97 in at SS10, 4.92 × 7.91 in at SS6 and 6.63 × 10.67 in at SS16. If your software shows a different size, it changed the file on import. Undo that and import again, or type in the exact listed size.
Never resize a template to fit a shirt. A template that is a little too big or too small has holes that no longer match the stones. Every template, cutting box included, fits the 12 × 12 in mat with its 11.5 × 11.5 in cut area, so there is no need to shrink anything.
Step by step
- Open the SVG and check the size against the product page.
- Place the flock on the mat with the paper backing on and the flock side up. Smooth it so it lies flat with no bubbles.
- In your cutting software, choose the flock material setting.
- Make a test cut first: a small group of holes copied from the design works well.
- Check the test. The circles should lift out cleanly, and the paper backing should still hold the sheet together.
- If the circles stay put, add pressure or put in a fresh blade, then test again.
- Cut the full template, including the 0.25 in box around the design.
- Unload the mat and weed out the circles.
Why the test cut matters
Flock can vary from roll to roll, and blades wear. A test cut takes a small scrap of flock. A failed full cut wastes the whole sheet and the time spent weeding it.
When a setting works, write it down with the flock you used and when you last changed the blade. Next time, you start from a setting you trust.
Weeding the holes
Weeding means lifting out the little cut circles so each hole is open.
- Peel slowly. Many crafters peel the flock off its paper backing and find most circles stay behind on the paper. Pick out the rest with a weeding hook.
- Work in good light. Holding the sheet up to a window shows any hole that is still closed.
- Don't stretch the flock. If it starts to tear between holes, the blade is usually dull.
Then stick the template onto a backer board and smooth it down. It is ready for stones.
Why the gap between holes matters
Our templates leave at least .03 in (0.76 mm) of flock between holes, typically about 0.9 mm. That narrow bridge keeps the template strong while you weed and brush. Resizing a file makes the gap thinner or wider along with the holes, which is one more reason to cut at true size. Rhinestone template spacing explained shows the numbers with a diagram.
Common cutting problems
| Problem | Likely cause | Fix |
|---|---|---|
| Circles won't pop out | Not cut through | More pressure or a fresh blade |
| Flock tears while weeding | Dull blade | Fresh blade |
| Stones don't fit the holes | File resized, or wrong stone size | Import at true size, use the matching file |
| Template is bigger than the mat | File scaled up on import | Reset it to the listed size |
For brushing, lifting and pressing problems, see the troubleshooting guide.
Practise on a free template
A free design is a low-risk way to dial in your machine. Cut one, weed it and brush in a few stones before you start on a paid pack.




FAQ
What setting do I use to cut rhinestone flock?
Choose your machine's flock material setting and make a test cut. If the circles don't pop out, add pressure or use a fresh blade. Settings vary between machines and flocks, so test each new roll.
Why won't the circles come out of my rhinestone template?
The blade hasn't cut all the way through the flock. Add pressure or put in a fresh blade, and make another test cut before you cut the full sheet.
Can I resize a rhinestone template SVG?
No. The holes are cut for one stone size, and resizing changes them so the stones no longer fit. Use the SS6, SS10 or SS16 file that matches your stones.
Do I cut rhinestone flock with the backing on?
Yes. Cut with the paper backing on and the flock side up. Take the backing off after weeding, when you stick the template to the backer board.