How to Make a Rhinestone Shirt, Step by Step
How to make a rhinestone shirt with a template: what you need, cutting the flock, brushing in hotfix stones, lifting with tape, pressing and aftercare.
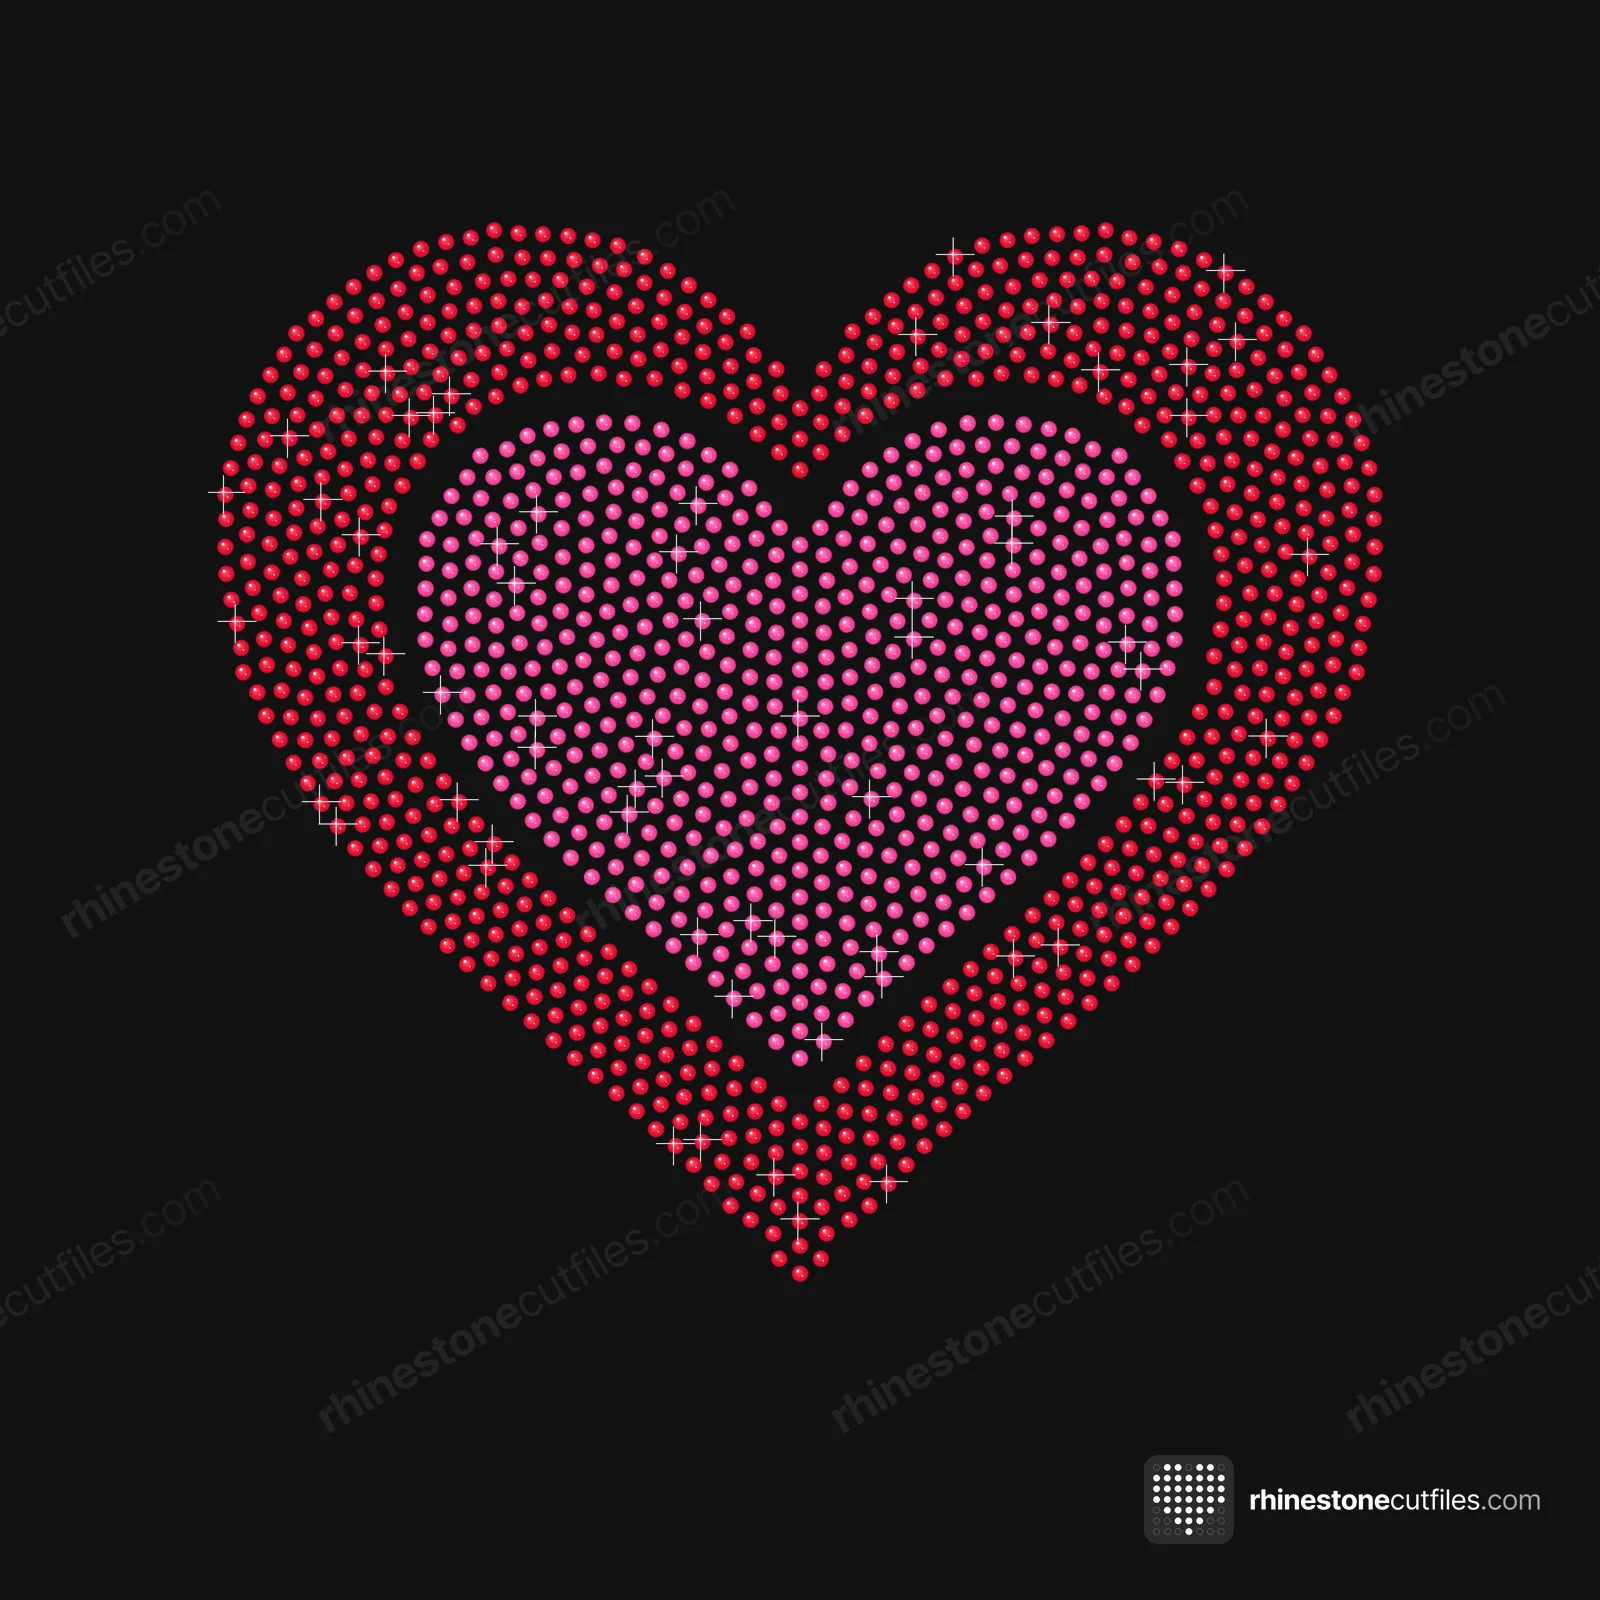
To make a rhinestone shirt, you cut a rhinestone template with one hole for every stone, brush hotfix rhinestones into the holes, lift the whole design with clear transfer tape and heat press it onto the shirt. Cutting the template is the slow part, and you only do it once. After that, every new bling shirt is mostly brushing and pressing.
Below is the full method, from file to finished shirt. Each step links to a deeper guide when you want more detail.
What you need
- A rhinestone template SVG (or DXF or EPS) in the stone size you plan to use
- A cutting machine that cuts rhinestone flock (Cricut Maker and Explore, and many others)
- Rhinestone template material (flock) and a backer board
- Hotfix rhinestones in the size of the file: SS6, SS10 or SS16
- Clear hotfix transfer tape
- A heat press, or a household iron for small pieces
- A non-stick cover sheet or parchment paper
- A shirt
Hotfix stones have heat glue already on the back, so you don't need any extra glue.
Step 1: Pick the design and the stone size
Every pack has the design in SS6 and SS10, and most in SS16 too, each as its own file at its own size. SS10 (2.8 mm stones) is the most popular. SS6 (2.0 mm) gives a finer, smaller design and SS16 (3.9 mm) a bolder one. Our stone size comparison shows how they differ on a shirt.
Never resize a template. The holes are cut to fit one stone size, and scaling the file would make them stop matching the stones.
Before you order stones, check the per-colour stone counts on the product page. Our guide to how many rhinestones you need turns those numbers into gross to buy.
Step 2: Cut the template
- Open the SVG in your cutting software and check it shows the size listed for that stone size. Don't scale it.
- Put the flock on the mat with the paper backing on, flock side up.
- Choose your machine's flock material setting.
- Do a test cut on a small part of the design first.
- Cut the full template. If the circles don't pop out, add pressure or put in a fresh blade.
Every template, cutting box included, fits the 12 × 12 in mat (11.5 × 11.5 in cut area). Our guide on how to cut rhinestone templates covers settings, test cuts and weeding in detail.
Step 3: Weed out the circles
Lift out every little circle so each hole is open. A weeding hook helps with stubborn ones. Hold the sheet up to the light to check you haven't missed any. A hole you miss now is a missing stone later.
Step 4: Stick the template on a backer board
Peel off the paper backing and stick the flock onto a backer board. Smooth it flat. The backer closes the bottom of each hole, so the stones sit in little pockets while you brush.
Step 5: Brush in the stones
- Pour more stones than holes over the template.
- Brush them around gently in small circles until every hole is filled.
- Check that every stone is shiny side up. Tap the board to help flipped stones turn over.
- Brush the spares off to one side and back into their bag.
Fill the last few stubborn holes by hand rather than brushing on and on.
Step 6: Lift with transfer tape
Cut clear hotfix transfer tape a little bigger than the design. Peel off its backing, lay it sticky side down over the stones and rub it down well. Lift it slowly. The whole design comes up in one piece, ready to press.
For more than one colour, you fill and lift each colour in turn and line the templates up by their matching cutting boxes. Multi-colour rhinestone designs explains the hinge method step by step.
Step 7: Place and press
Fold the shirt in half and press a light crease to mark the centre. On an adult tee, the top of the design usually sits about 3 in (7-8 cm) below the collar. The placement guide covers other shirts and design shapes.
| Setting | Heat press | Iron (small pieces) |
|---|---|---|
| Heat | 320-335 °F (160-168 °C) | Cotton setting, no steam |
| Time | 10-15 seconds | 20-30 seconds per spot |
| Pressure | Medium to firm | Press hard, don't slide |
| Cover | Non-stick sheet or parchment | Non-stick sheet or parchment |
Pre-press the shirt for a few seconds to dry it. Place the design with the stones touching the fabric, cover it and press. Let it cool a little, then peel the tape slowly and low. If a stone lifts, lay the tape back down and press again. For extra hold, turn the shirt inside out and press for 10 seconds from the back.
These are starting points. Check your stones' instructions and test on a spare shirt first. The heat press settings guide explains what each setting does.
Step 8: Care for the finished shirt
Wait 48 hours before the first wash. Then wash the shirt inside out, in cold water, on a gentle cycle, and hang it to dry. Our guide on how to wash rhinestone shirts has the full routine.
Use the template again
The template is reusable. Keep it stuck on its backer board, brush it clean and store it flat, and it is ready for the next shirt. For a batch, you cut once, then fill, lift and press as many times as you need.
When something goes wrong
| Problem | Quick fix |
|---|---|
| Circles won't pop out | More pressure or a fresh blade |
| Flock tears while weeding | A fresh blade |
| Stones flip upside down | Brush in small circles, add more stones, tap the board |
| Stones fall off | Pre-press, then press again with the cover sheet |
The troubleshooting guide covers every common problem with its cause and fix.
Start with a free template
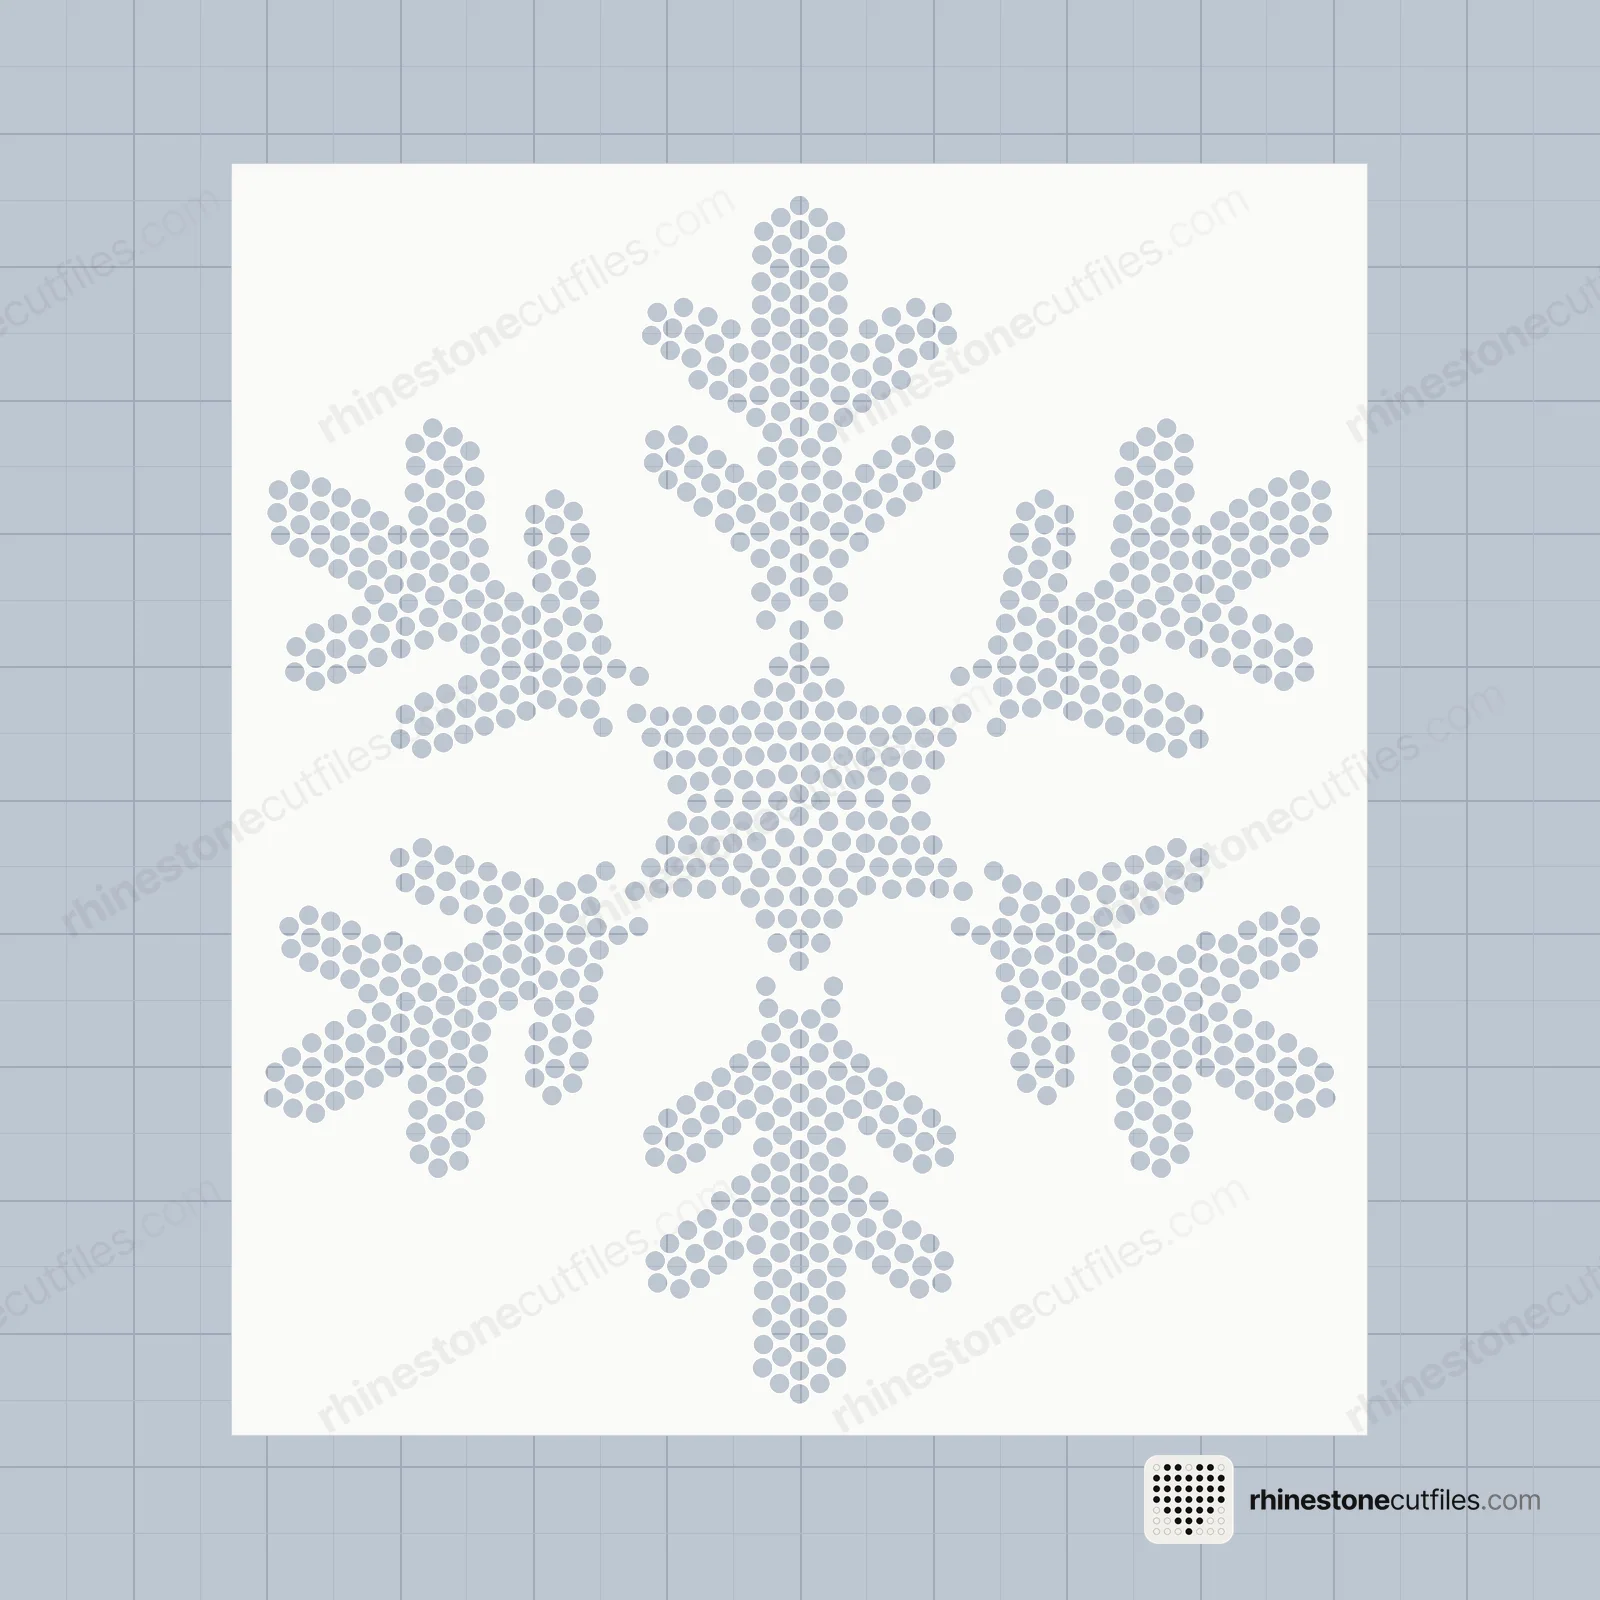
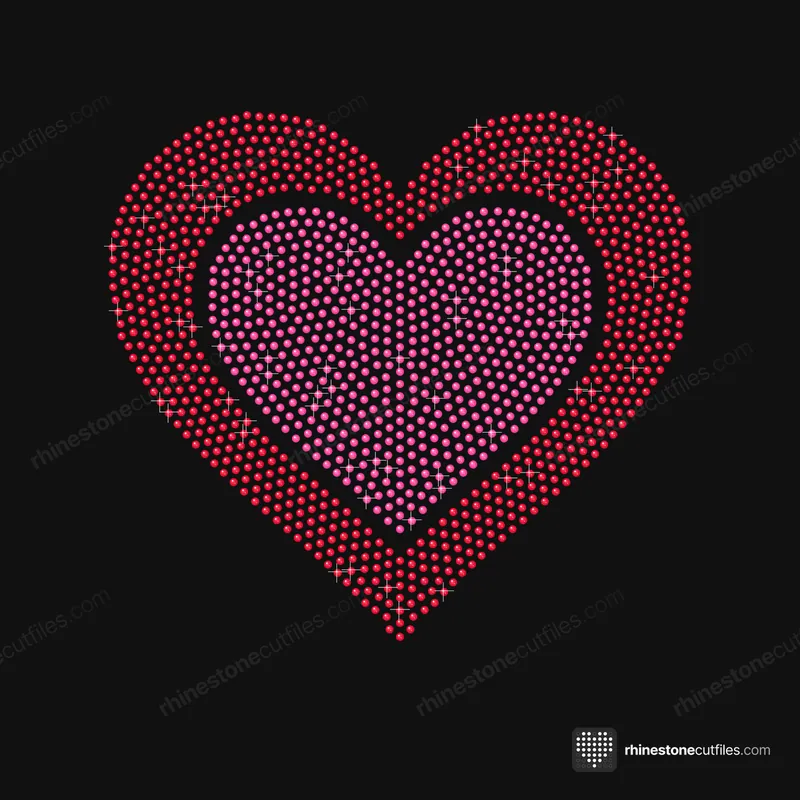
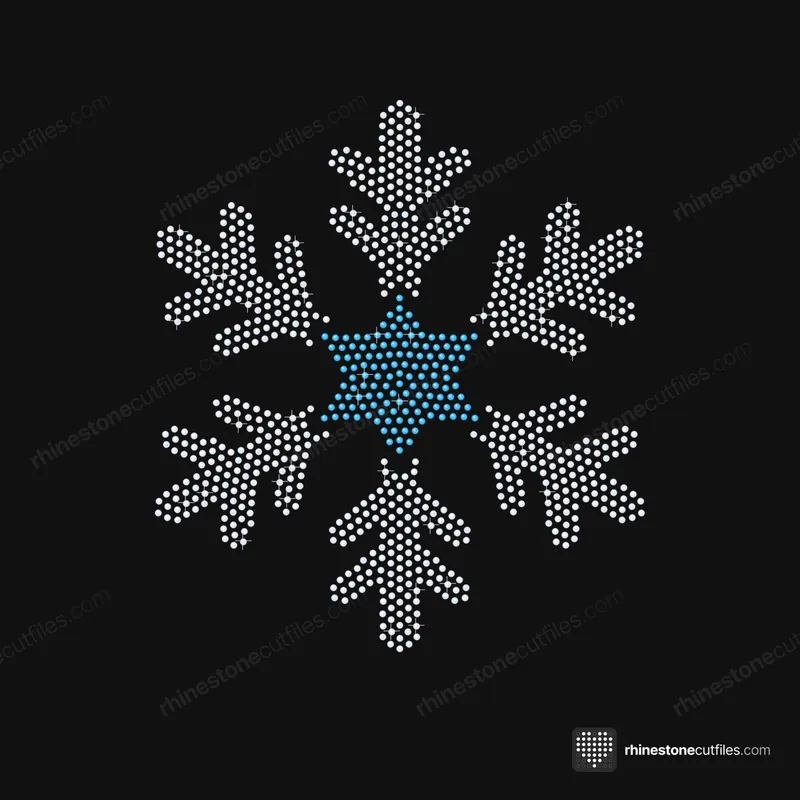
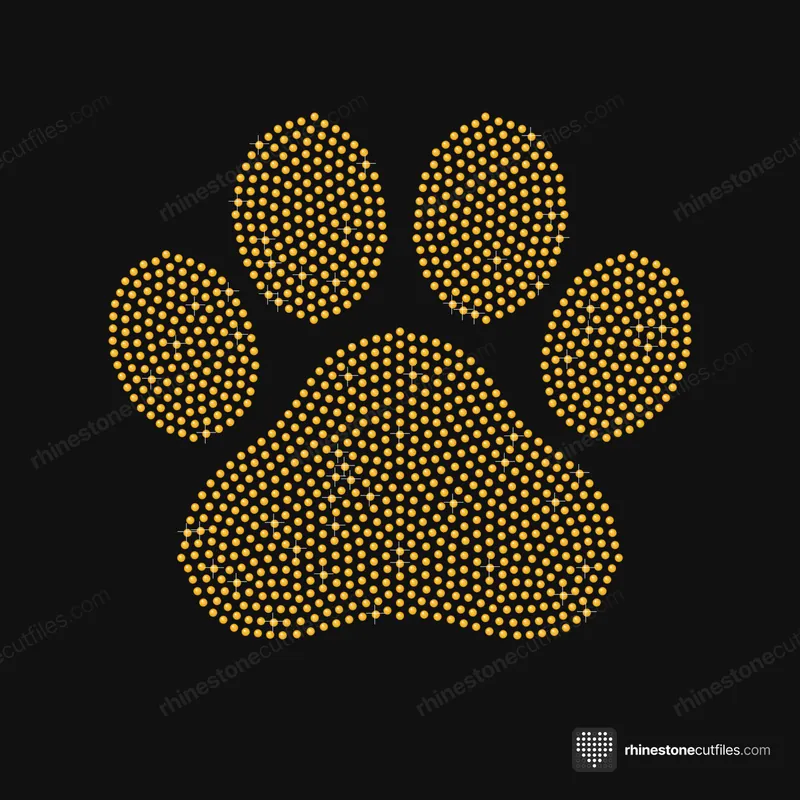
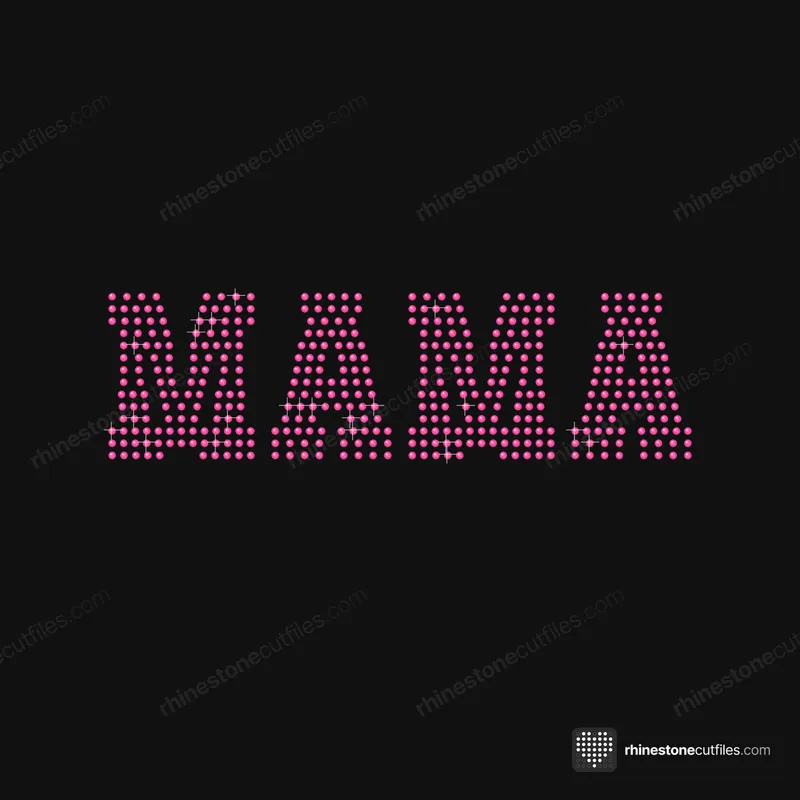
The easiest way to learn the method is on a design that costs nothing. We have six free templates, from a simple heart to a snowflake, so you can practise cutting, brushing and pressing before you buy.




FAQ
Do you need a cutting machine to make rhinestone shirts?
To cut your own rhinestone templates, yes: you need a cutting machine that can cut rhinestone flock. Once the template is cut, you can use it for many shirts without the machine.
What size rhinestones are best for shirts?
SS10 (2.8 mm) is the most popular size for shirts. SS6 gives a finer look at a smaller size, and SS16 gives a bolder one. Our packs include SS6 and SS10, and most include SS16, each as its own file.
Can I use an iron instead of a heat press?
For small pieces, yes. Use the cotton setting with no steam, press hard for 20-30 seconds per spot and don't slide the iron. A heat press gives more even heat and pressure over a large design.
How long does it take to make a rhinestone shirt?
It depends on the design and on your practice. Cutting and weeding the template takes the longest, and you only do that once. Each shirt after that is brushing, lifting and pressing.
Can I sell shirts made with your templates?
Yes. Our licence lets you sell finished shirts you make with the templates. You may not share or resell the files themselves.