Rhinestone Shirt Placement: Where to Put the Design
Where to place a rhinestone design on a shirt: find the centre with a crease, set the height below the collar and pick the stone size that suits the shirt.
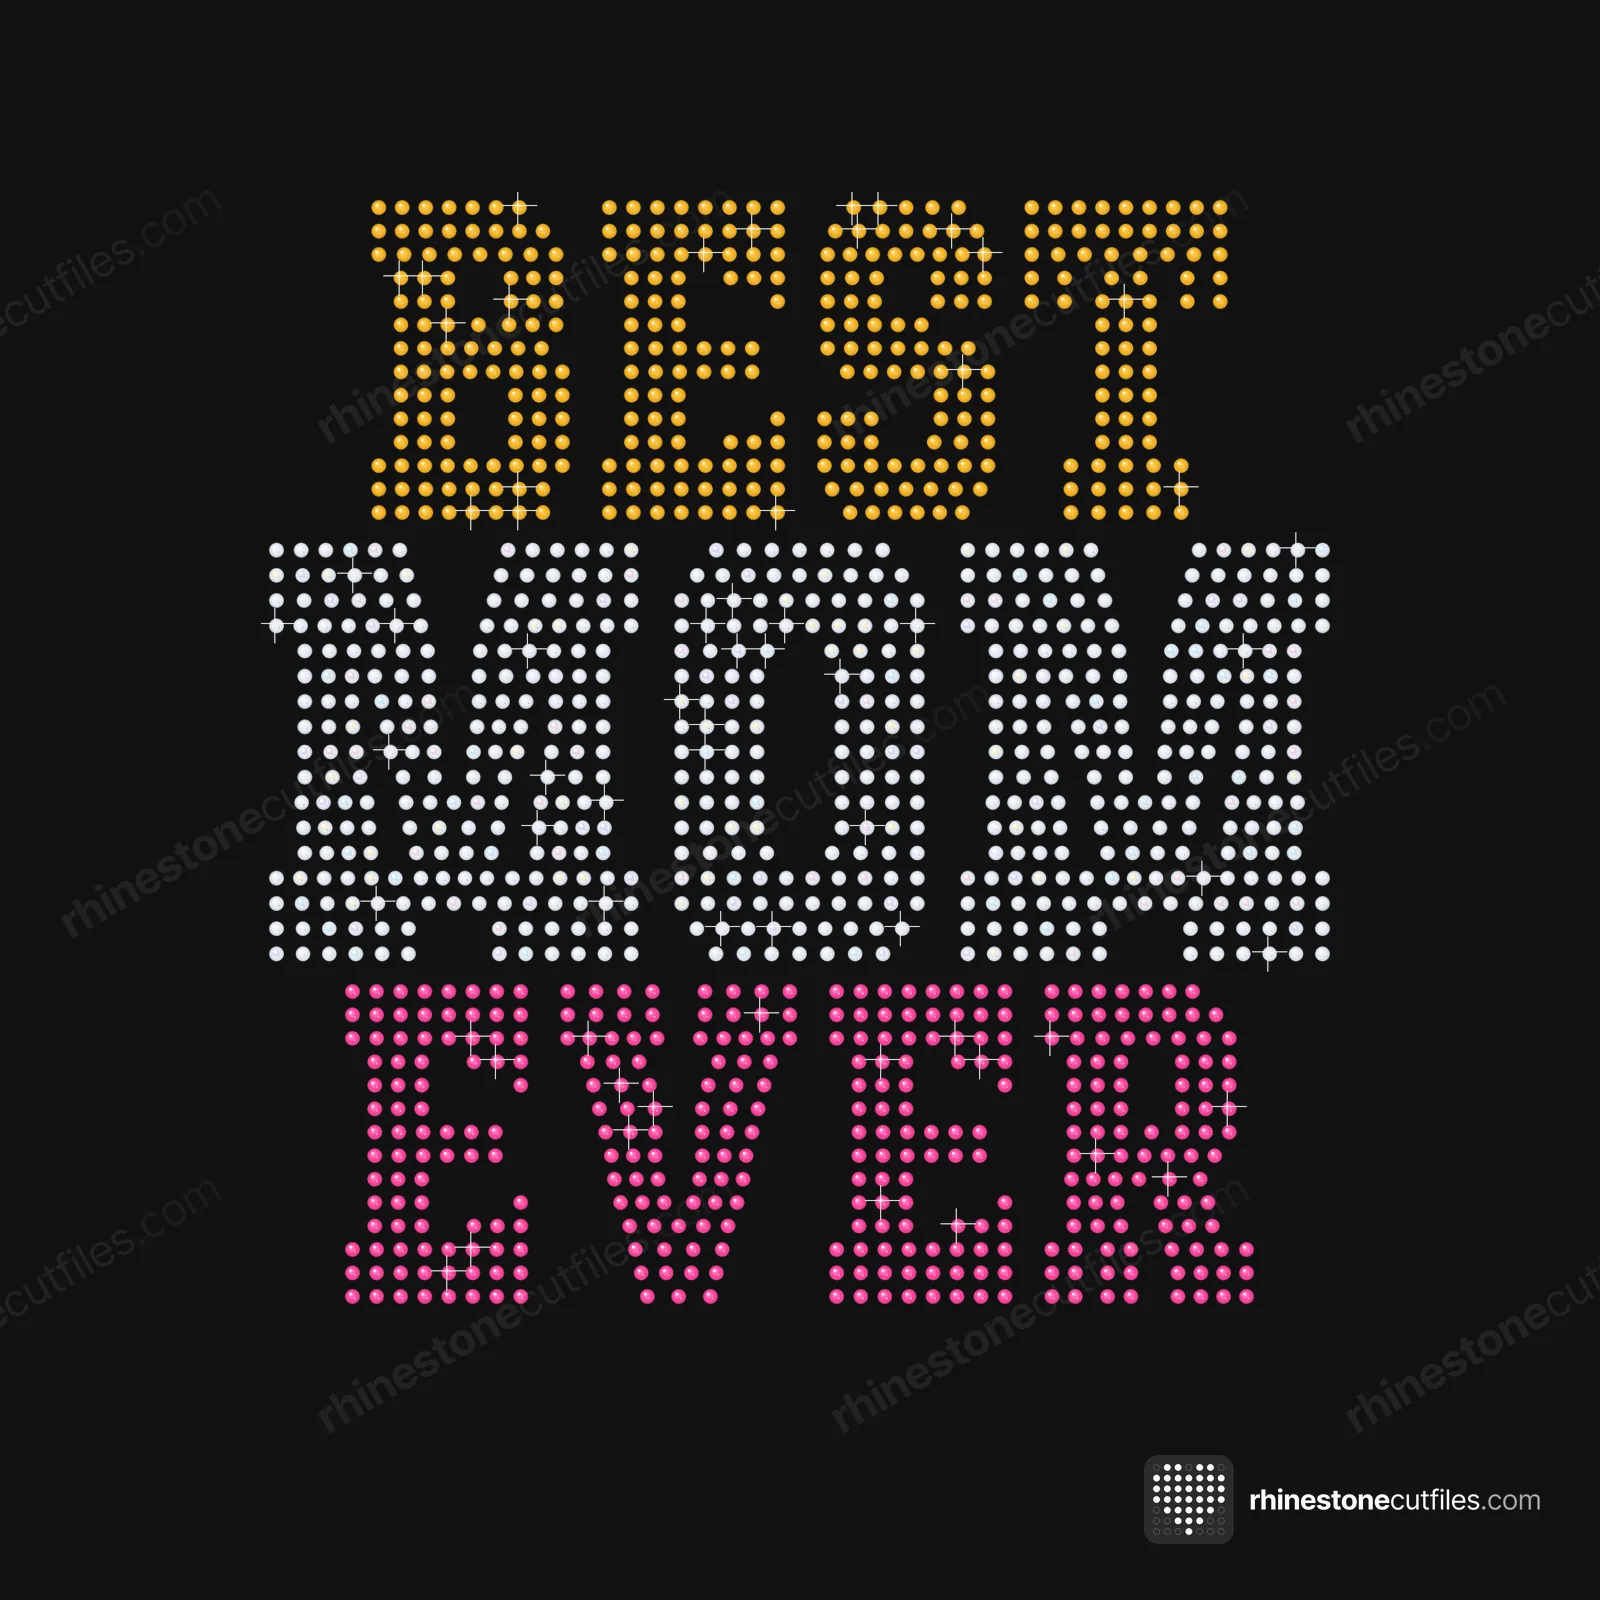
The usual rhinestone shirt placement on an adult tee is centred, with the top of the design about 3 in (7-8 cm) below the collar. To find the centre, fold the shirt in half lengthwise and press a light crease, then line the middle of the design up with that crease.
That is the starting point. Shirt size, neckline and the shape of the design all change what looks right, so check by eye before you press.
Find the centre
- Lay the shirt flat, front up, and smooth it out.
- Fold it in half lengthwise, matching the shoulder seams and the side seams.
- Press the fold for a moment to leave a light crease down the middle. A heat press or an iron both work.
- Open the shirt. The crease is your centre line.
The crease also shows whether the shirt is lying straight. If the line bends, straighten the shirt before you place the design.
Set the height
On an adult tee, measure about 3 in (7-8 cm) down from the collar to the top of the design. A ruler laid across the shirt at that height makes a handy guide while you position the tape.
Adjust for the garment:
- Youth and kids' shirts: use a smaller gap below the collar, judged by eye, and consider the SS6 file so the design fits the chest.
- V-necks and scoop necks: measure from the lowest point of the neckline.
- Hoodies: keep the design above the front pocket and clear of the drawstrings.
Before you press, hold the design up against the person who will wear it, or against yourself in a mirror. It should sit on the chest, not drift towards the stomach.
Pick a size that fits the shirt
Our designs are mostly about 6-10 in wide or tall at SS10. The SS6 version of a design is smaller and the SS16 version bigger, each as its own file. Sizes are width × height.
| Design | SS6 | SS10 | SS16 |
|---|---|---|---|
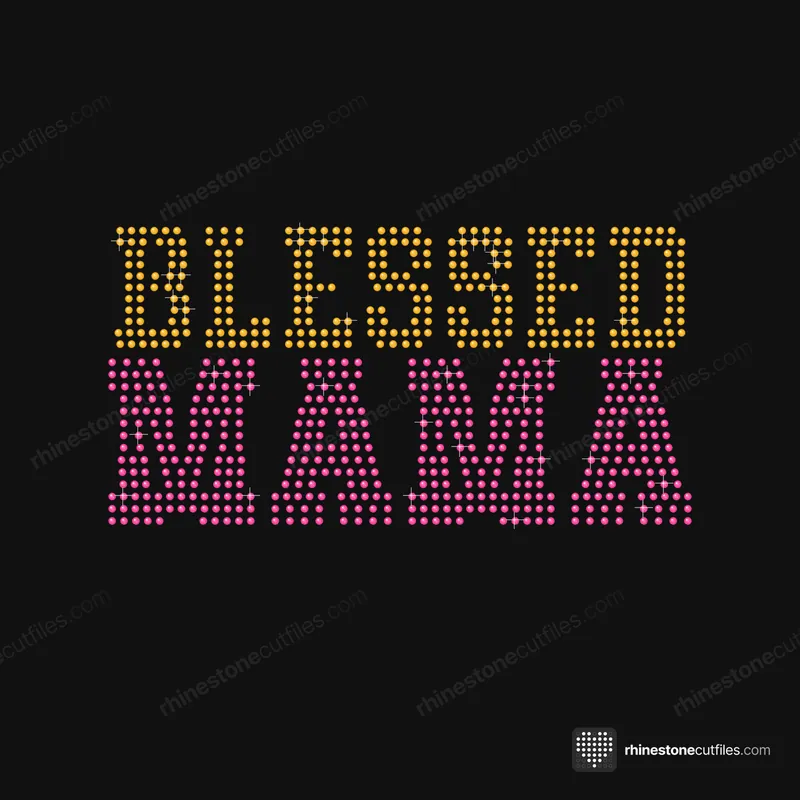
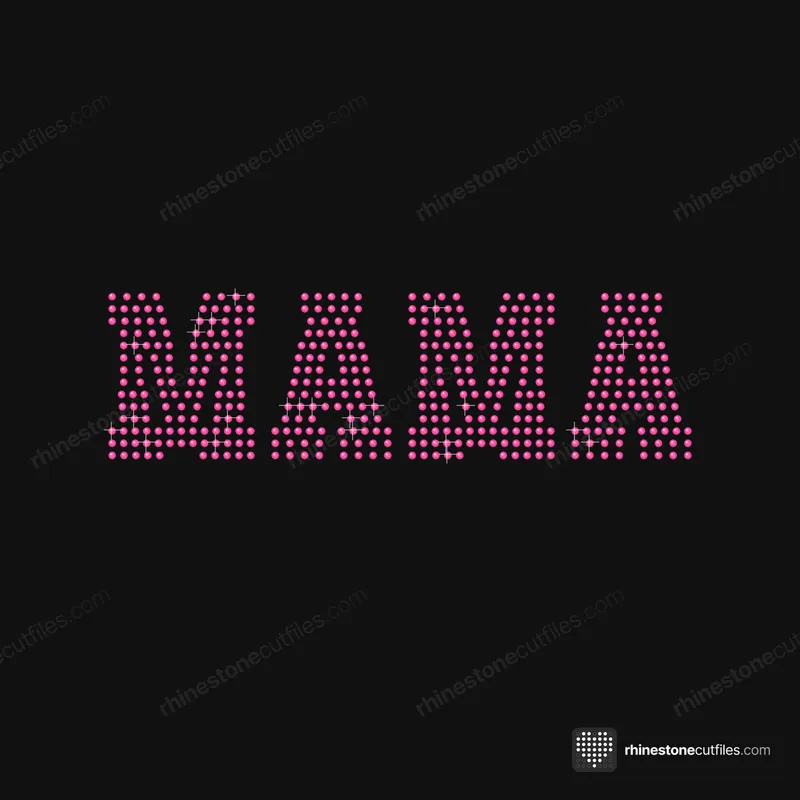
| Mama (word) | 6.74 × 1.93 in | 8.49 × 2.44 in | 10.61 × 3.05 in |
| Best Mom Ever | 6.38 × 6.64 in | 8.05 × 8.37 in | 10.05 × 10.45 in |
| Candy Cane (tall) | 2.87 × 7.94 in | 3.62 × 10.01 in | 3.89 × 10.73 in |
For a small shirt, the SS6 file often fits better. For a large adult shirt or a bolder look, SS16 is there for most designs. Never resize a template to fit a shirt; pick a different stone size instead, because resizing makes the holes stop matching the stones. Our stone size comparison shows how each size looks.
Wide, tall and square designs
Wide designs. Word designs like Mama sit across the chest. Keep the line of text square to the centre crease, or it will look tilted when worn.
Tall designs. A design like the Candy Cane runs down the shirt. Put the top at the usual height and check the bottom still sits on the chest.
Square designs. Hearts, mascots and phrase designs such as Best Mom Ever are the easiest: centre them on the crease at the usual height.
Placing the transfer tape
Clear transfer tape lets you see the shirt through it, which makes lining up simple.
- Pre-press the shirt for a few seconds to dry it and take out wrinkles.
- Measure across the tape to find the middle of the design. A small mark on the tape, above the top stone, helps.
- Lay the tape on the shirt with the stones touching the fabric.
- Line the mark up with the centre crease.
- Check the height from the collar with a ruler.
- Stand back and look at it once more before you press.
Then press with your usual settings. The heat press settings guide covers temperature, time and pressure.
Other places on a shirt
The back. The same method works: crease the centre and measure down from the back collar. Wide word designs and larger mascot designs suit the back well.
Sleeves and small spots. Most of our designs are 6-10 in wide or tall at SS10, so they are sized for the front or back of a shirt rather than a sleeve.
Matching shirts. For a group, place every shirt the same way: same crease, same measured height. Matching placement across sizes makes a team or family set look planned. For ideas, see our mom rhinestone shirt ideas.




FAQ
Where do you put a design on a shirt?
Centre it on the front, using a light crease down the middle of the shirt as your guide. On an adult tee, the top of the design usually sits about 3 in (7-8 cm) below the collar.
How far below the collar should a shirt design be?
About 3 in (7-8 cm) on an adult tee. Use a smaller gap on youth and kids' shirts, and measure from the lowest point of the neckline on a V-neck.
How big should a rhinestone design be on a shirt?
Our designs are mostly about 6-10 in wide or tall at SS10. For smaller shirts, the SS6 file gives a smaller design; for a bolder look, most designs also come in SS16.
How do I find the centre of a shirt for heat pressing?
Fold the shirt in half lengthwise, matching the shoulder and side seams, and press the fold for a moment. The light crease marks the centre line.