Rhinestone template vs transfer: which should you buy?
Rhinestone template vs ready-made transfer compared: cost per shirt, tools, time, colour choice and reuse, so you know which one suits your shirts.
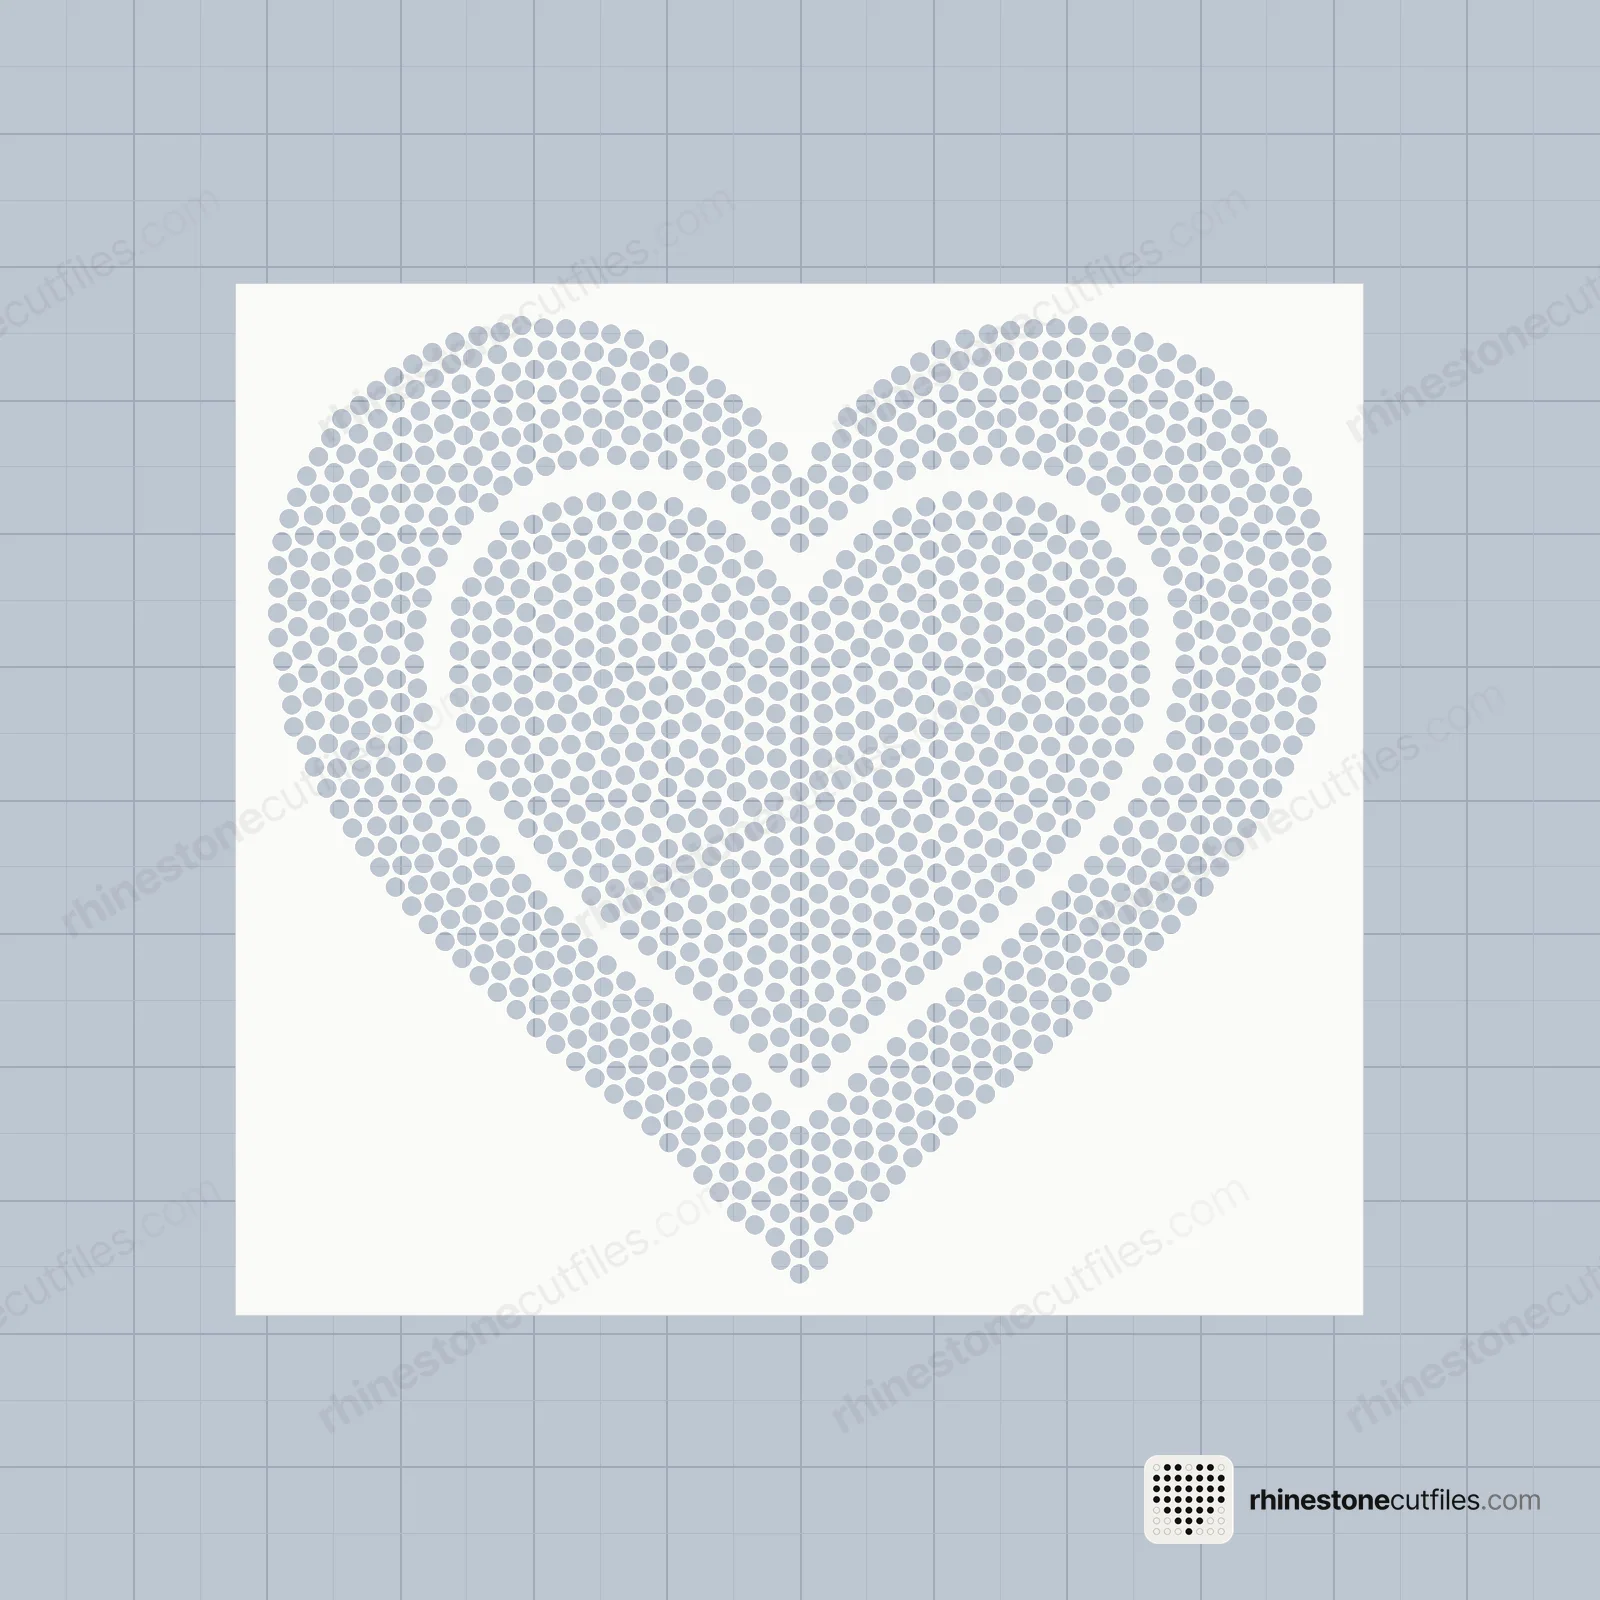
A rhinestone template is a reusable stencil you cut from flock and fill with loose hotfix stones; a rhinestone transfer is a finished design with the stones already set on tape, ready to press once. If you'll make a design more than once, or want to choose your own stone colours, a template is the better buy. If you need one shirt and don't own a cutting machine, a ready-made transfer is simpler.
The two also work together. When you fill a template and lift the stones with transfer tape, you've made your own rhinestone transfer.
Template vs transfer at a glance
| Rhinestone template | Ready-made transfer | |
|---|---|---|
| What you get | A cut file you turn into a flock stencil | Stones already set on tape |
| Shirts per purchase | Many: the template is reusable | One per transfer |
| Tools needed | Cutting machine, flock, backer board, hotfix stones, transfer tape, heat press or iron | Heat press or iron |
| Stone colours and size | Your choice | Set by the maker |
| Time per shirt | Fill and lift, then press | Press only |
| Upfront cost | Higher: tools and stones | Low |
| Cost of each extra shirt | Stones and tape | A new transfer |
Rhinestone templates
A template is the stencil behind every rhinestone design. You cut it from rhinestone flock on a cutting machine such as Cricut Maker and Explore, weed out the circles and stick it on a backer board. Then you brush hotfix stones in with small circles until every hole is filled, shiny side up, lift the design with clear hotfix transfer tape and press it. Our step-by-step guide walks through each stage.
Our templates are digital files: SVG, DXF, PDF, EPS and PNG, in SS6 and SS10 (most also in SS16), with a How-to-Use PDF guide for each design. You cut the template once and keep it on its backer, stored flat, for the next shirt. That's where the savings come from: after the first shirt, each new one costs only stones and tape.
Templates also give you control. Use any stone colour, switch to team colours, or fill a multi-colour design in a single shade. See one colour vs multi colour templates for how that works.
Ready-made rhinestone transfers
A ready-made transfer arrives with the stones already in place on transfer tape. You position it, press it and peel. There's no cutting, weeding or brushing, and no stones to buy by the gross.
The limits are the other side of that convenience. Each transfer makes one shirt, you get the colours and stone size the maker chose, and ten matching shirts means ten transfers. Quality varies between sellers, so check the stone type and follow the press instructions that come with the transfer.
A template makes transfers too
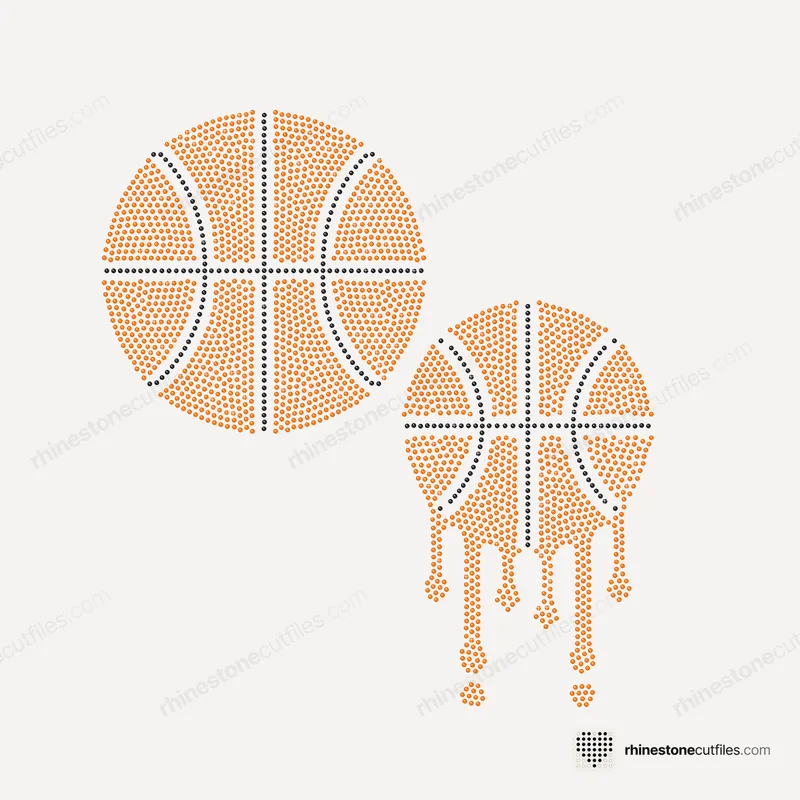
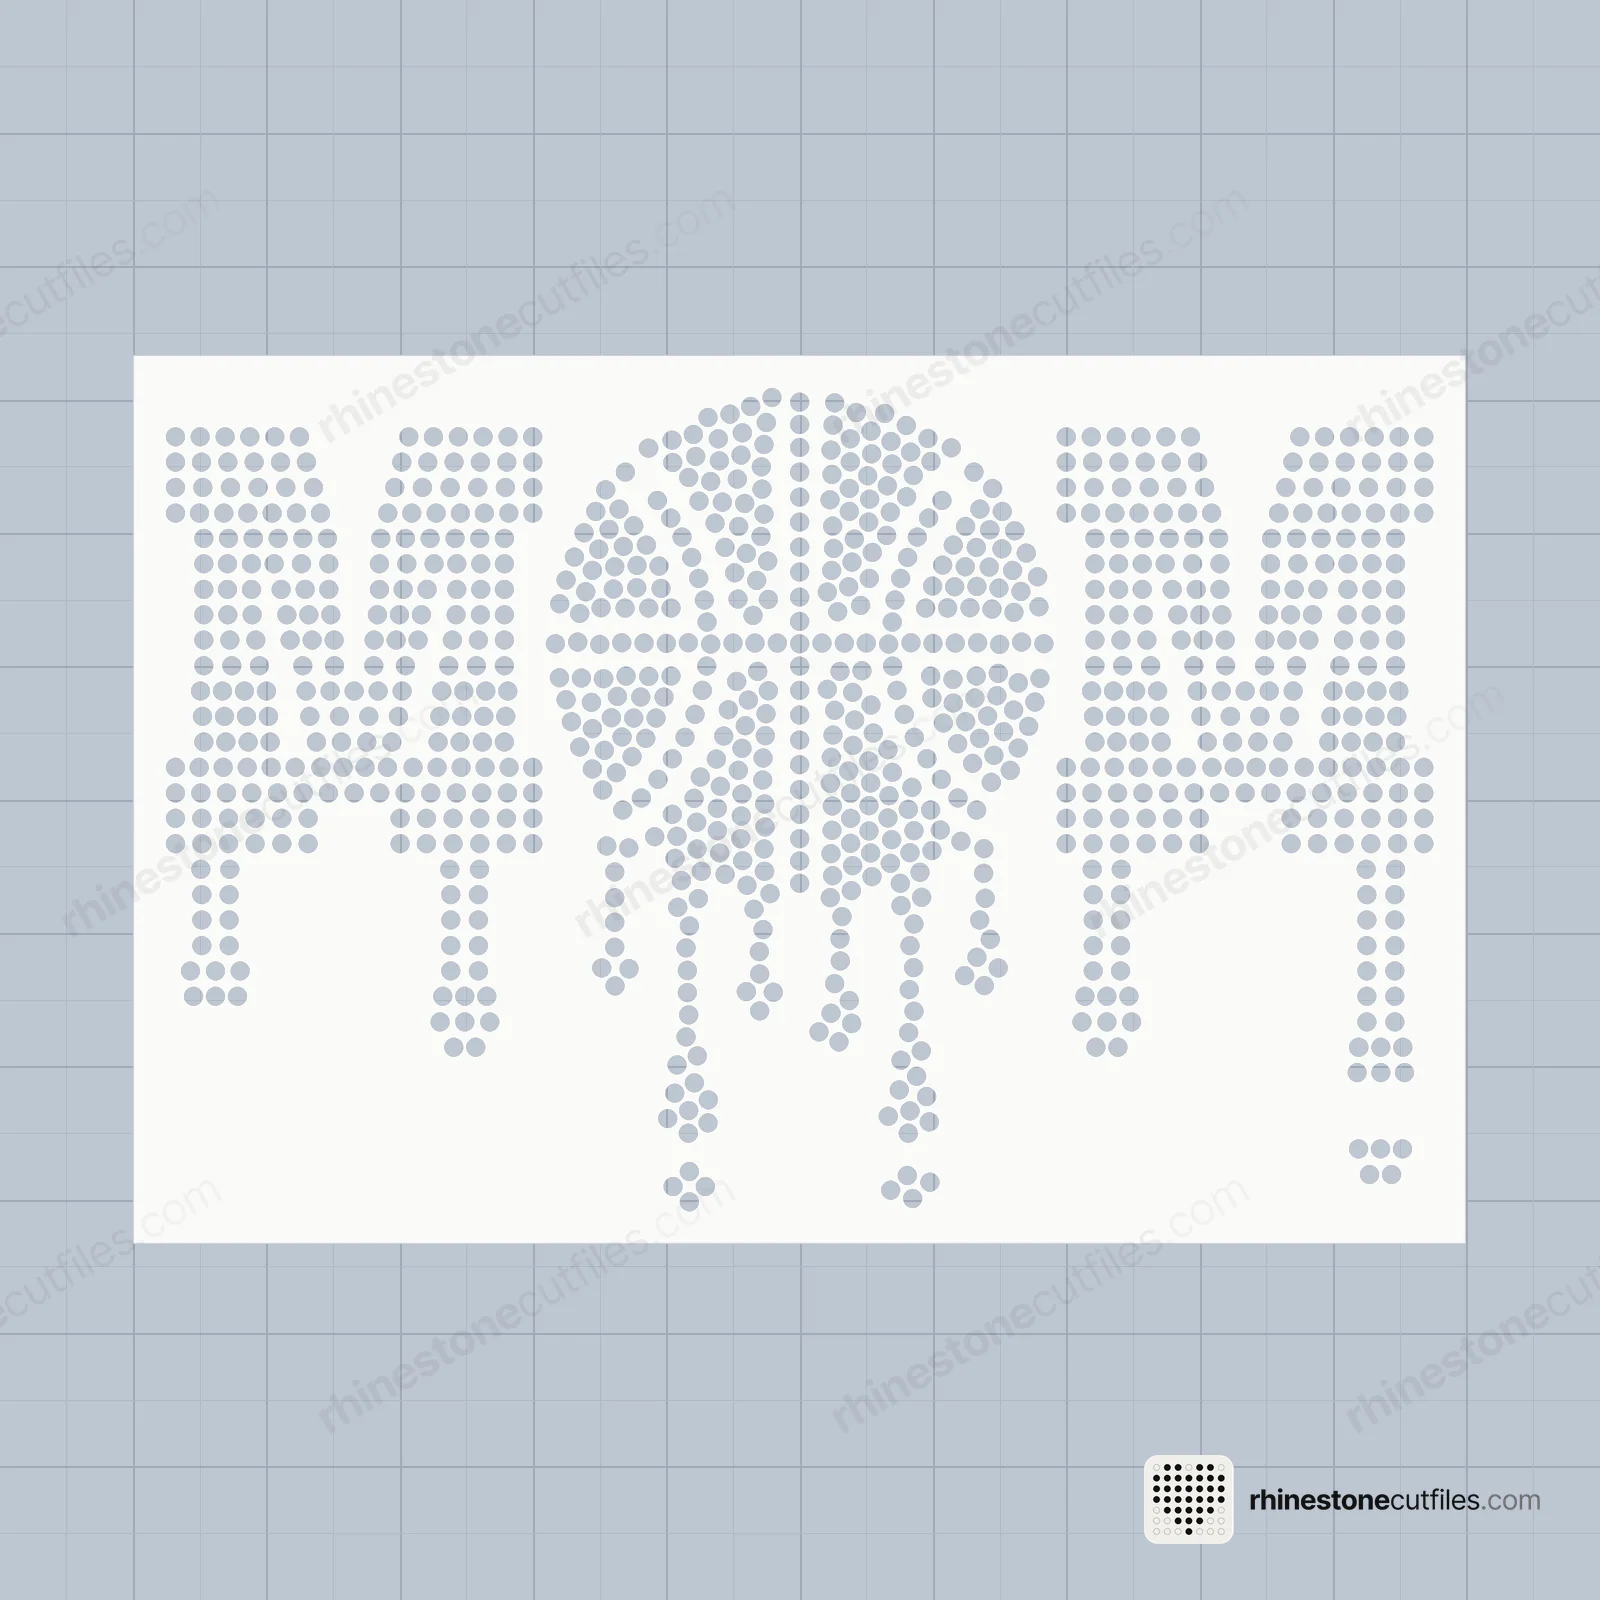
Once a template is cut, you can fill it, lift the design, press it, and fill it again for the next shirt. For a team, a family trip or a party, that's one template used over and over. A design like our Basketball Drip Set also comes in two versions, Drip and No Drip, so one pack covers two looks.
If you sell what you make, our licence lets you sell the finished shirts. It doesn't let you share or resell the files, or make transfers in bulk for resale. The licence page has the details.
Which should you pick?
- Pick a template if you'll make the same design more than once, for a team, a group or orders.
- Pick a template if you already own a cutting machine, or want to choose your own stone colours and size.
- Pick a ready-made transfer if you need a single shirt and don't have a cutting machine.
- Pick a ready-made transfer if time matters more than colour choice.
- Pick a free template if you want to try the template method before buying anything: ours are full packs like the paid ones.
FAQ
Is it cheaper to make your own rhinestone transfers?
Usually, once you make more than a few shirts. You cut the template once, and after that each shirt costs only stones and transfer tape. The tools are the bigger upfront spend, so for a single shirt a ready-made transfer can cost less.
Can I reuse a rhinestone template?
Yes. Keep it stuck to its backer board and store it flat, and you can fill it again for many shirts. Our guide to reusing and storing templates has the details.
Do I need a cutting machine to use a rhinestone template?
To cut the template from flock, yes. Our files work with home cutting machines that cut rhinestone flock. Without one, a ready-made transfer is the simpler choice.
How do I press a rhinestone transfer?
For transfers made with our templates: pre-press the shirt for a few seconds, place the transfer, cover it with parchment or a non-stick sheet, and press at 320-335 °F (160-168 °C) for 10-15 seconds with medium to firm pressure. Let it cool a little and peel slowly. For a bought transfer, follow the instructions that come with it.